Let the DIYs begin! I have a zillion & one DIY projects sitting here on my computer & I have promised so many of them FOREVER…so here we go!
First up, my fun little experiment of a project. I LOVE chevron. I don’t have much of any of it in my house right now. I am going to turn some fun yellow & white chevron fabric into a kids art table cover soon, but I wanted something for my “please don’t look like a bed, look like a day bed” project in our new hybrid office/guest room. It got its first use last week when my parents were here to help & worked quite well. So we’ll go through it all! (DIY Barn Doors too. :) Those are the best part!) But first…
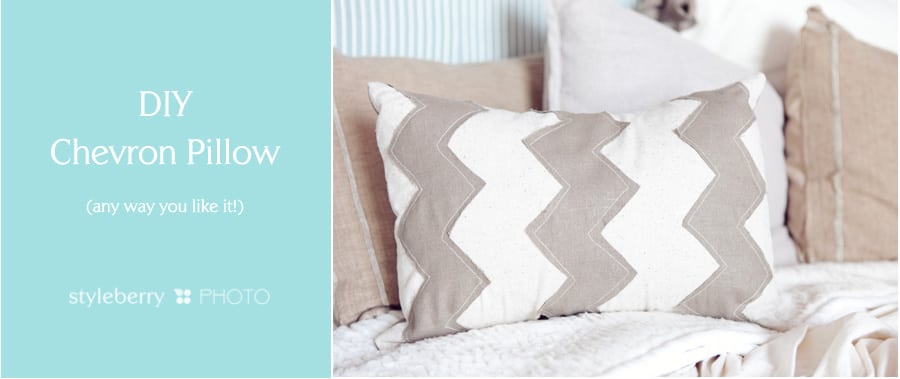
Here’s the full how-to! This is just a pillow cover, designed to be removed for washing if necessary. I am totally unqualified to be giving any kind of sewing advice since no one other than YouTube has ever taught me how to sew. But this is how I made my own chevron pillow, out of the fabric I wanted, so it matched the room I wanted it in! :) The fun fabric combinations for this project are ENDLESS! I want to make one for the new nursery, too!
I think the hardest part of drawing/painting/stenciling chevron is making the pattern. I came across a free pattern on Pinterest (thank you Single Mom(oirs)!) & tweaked it to the right size in photoshop, then printed it out.
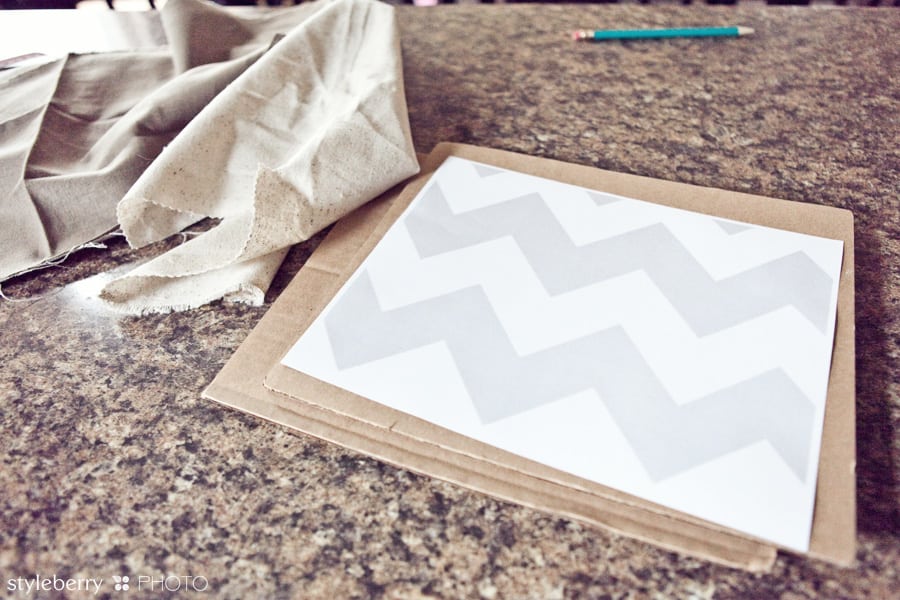
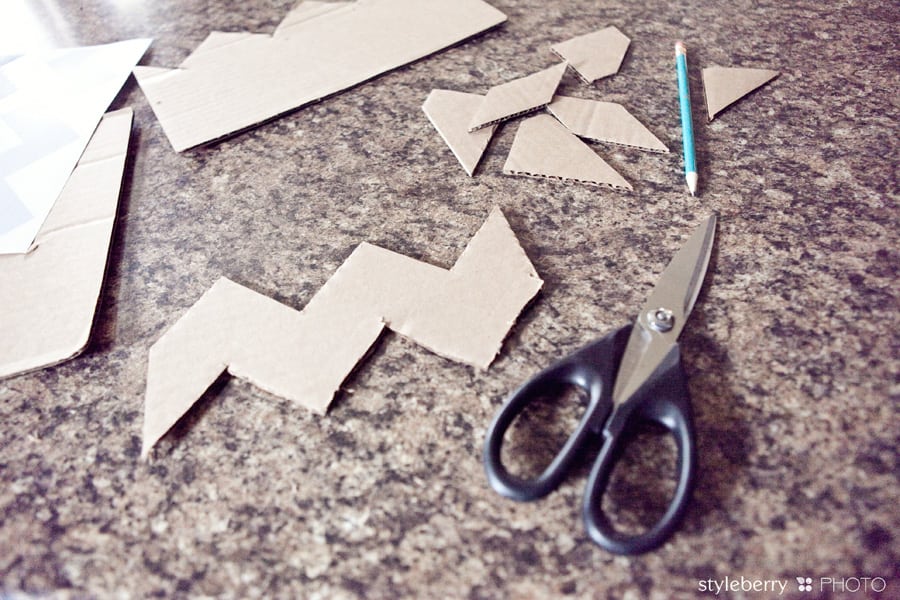
Then I traced it hard on some cardboard (left over from my shipment of christmas cards!)
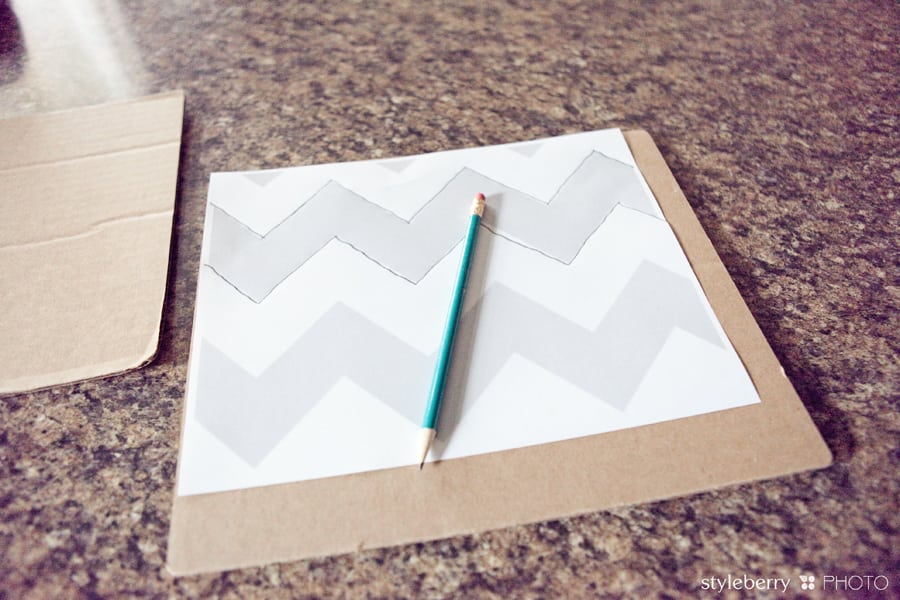
Once I had the guide on the cardboard, I took a heavy duty kitchen shears & cut out my pattern.
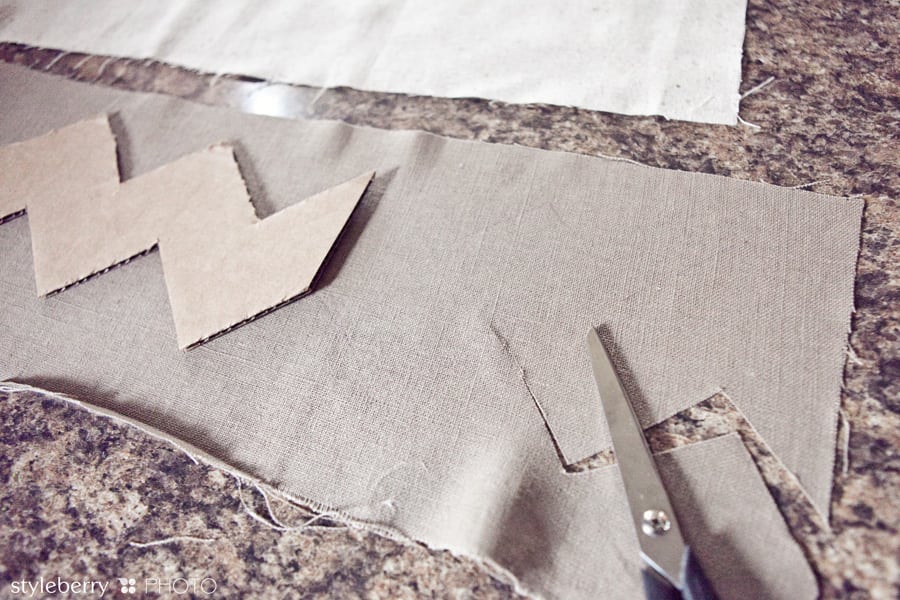
The next step was using a disappearing ink marker (from the fabric store) to trace the pattern on the fabric that was going to be the chevron print on the pillow. Then I cut it out using my sharp fabric scissors.
Then I played with the pattern on the background. I originally intended to do the zig zag pattern horizontally…but…
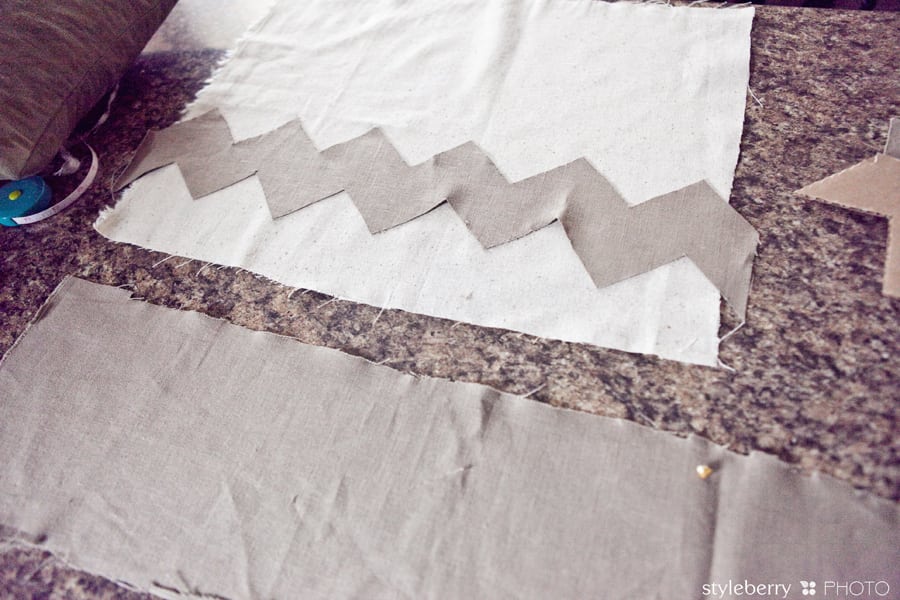
Once I got it all into position, I decided it looked way too “charlie brown-ish” to me! So I adjusted accordingly…
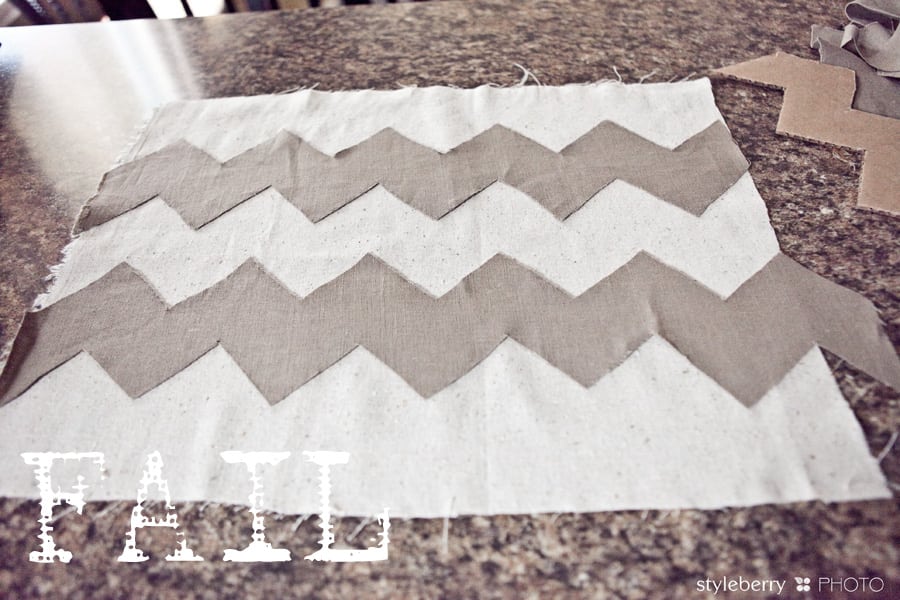
That’s better…
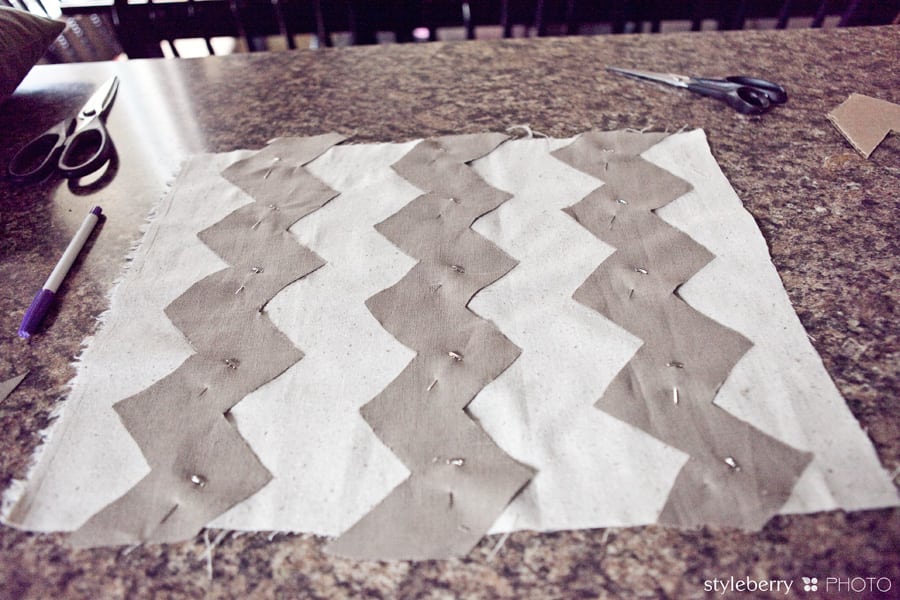
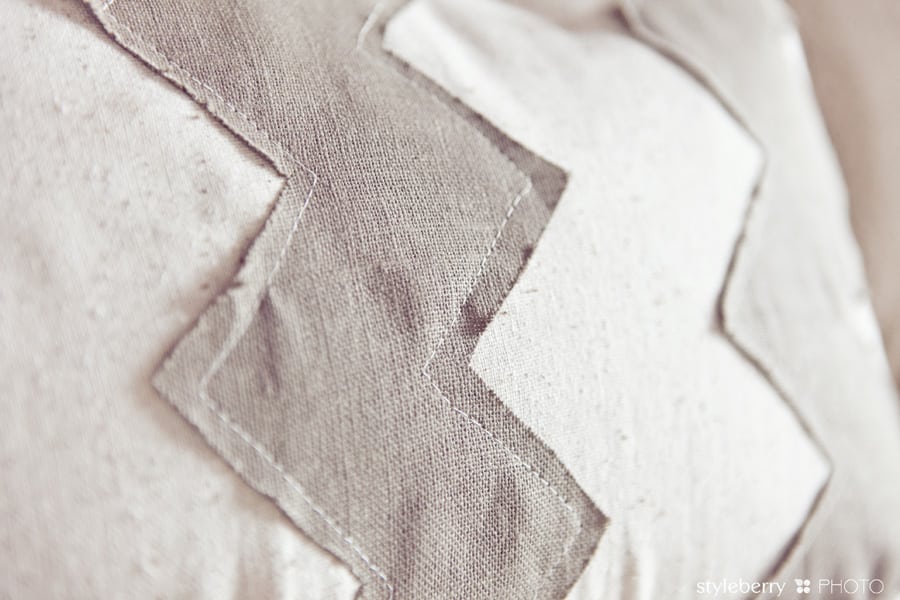
I pinned it down & used a contrasting thread (ivory) to sew the zig zag strips to the background fabric. It was messy. It was slow. It is not at all perfect. But it’s still cute!
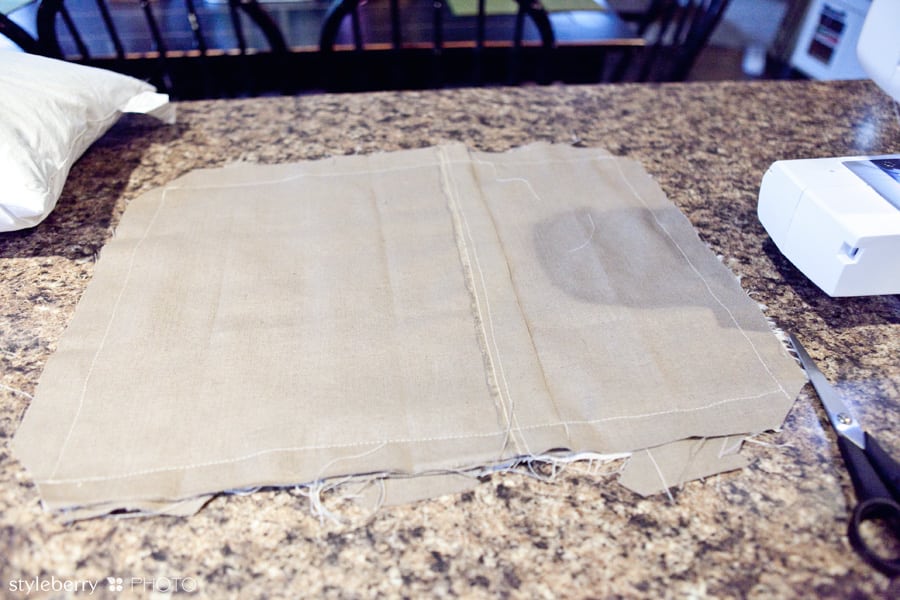
I used a very simple envelope enclosure for the back of the pillow (keeping at least 4 inches of overlap to prevent buckling) and stitched it up.
It fits nice & snug. No buckling because of the nice overlap.
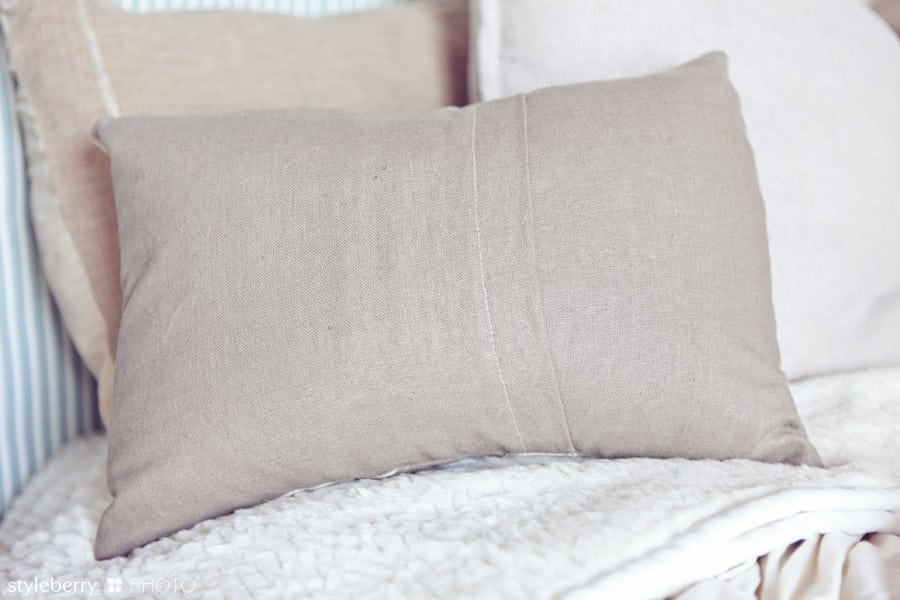
ooh la la!
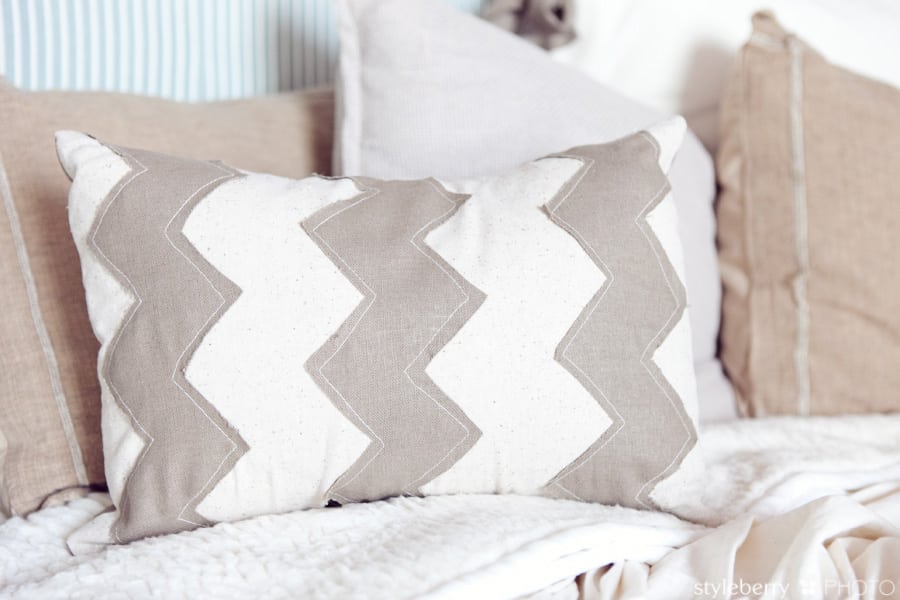
& now it sits front & center in our “reading nook” aka guest bed in the office! I have plans for more, fun & textural pillows on this bed, but with all that is going on right now–this will just have to do. ;)
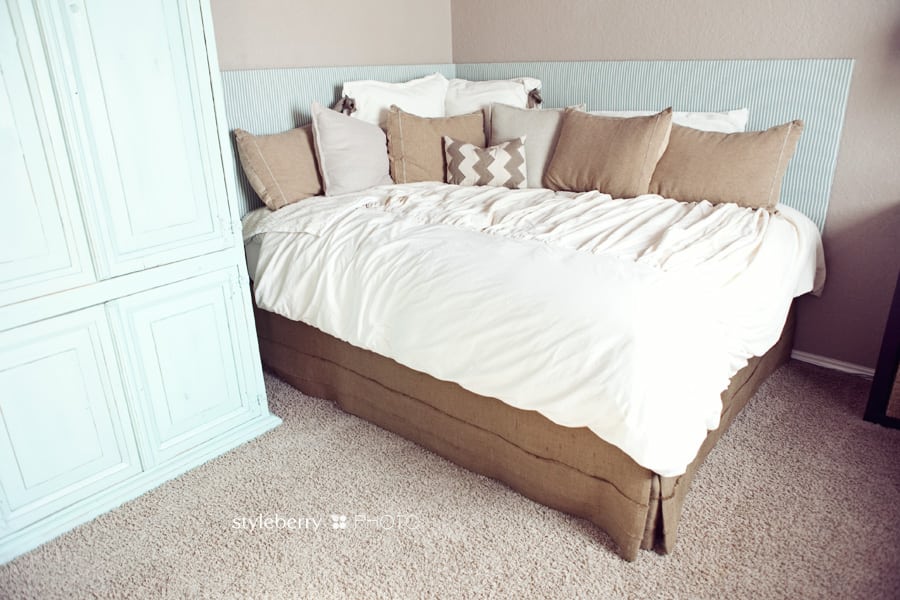
Coming up…how I made that burlap bedskirt, ruched duvet & corner headboard. Oh & the barn doors that I was standing next to while taking this picture. ;) For more on my big refinished turquoise armoire (that is still missing hardware), you can check out this article. ;)
Happy Monday!

