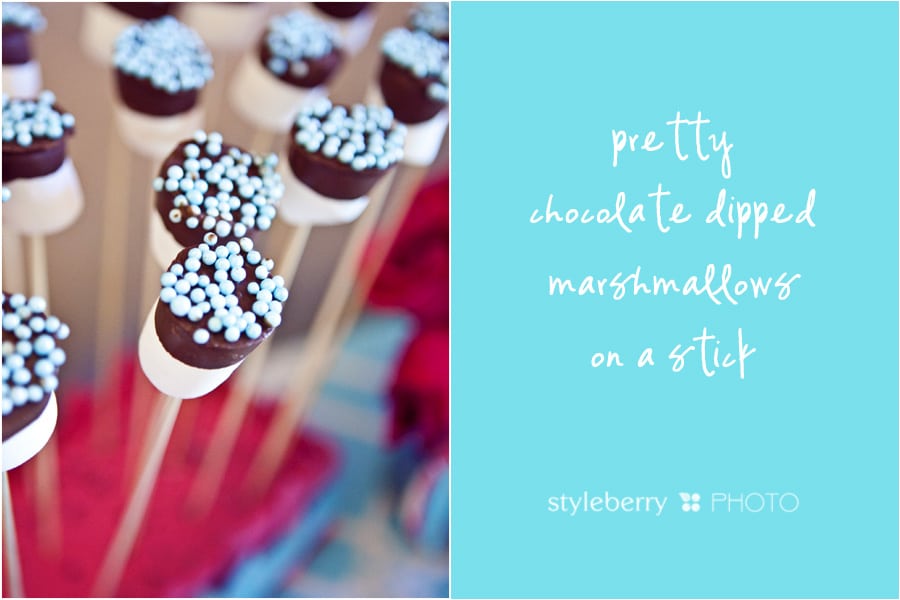
Happy Monday! The chocolate dipped marshmallow pops might be the most requested post of the series. Hope you enjoy–they are YUMMY, CHEAP, EASY & make a STATEMENT! I wanted mine to look pretty, not all drippy & messy. & I figured out how. After making a mess, of course. ;) Enjoy!
Ingredients
- large marshmallows (they even make JUMBO now!)
- Chocolate specifically made for candy making (Hobby Lobby $6, used 40% off coupon)
- sprinkles (these are from Michaels $6, used 40% off coupon)
- mug
- skewers
- foil
1. Put the chocolate in the mug & heat as directed. I chose a mug because it was tall & narrow, so I could get a deep dunk, without wasting too much chocolate.
2. Dunk marshmallow.
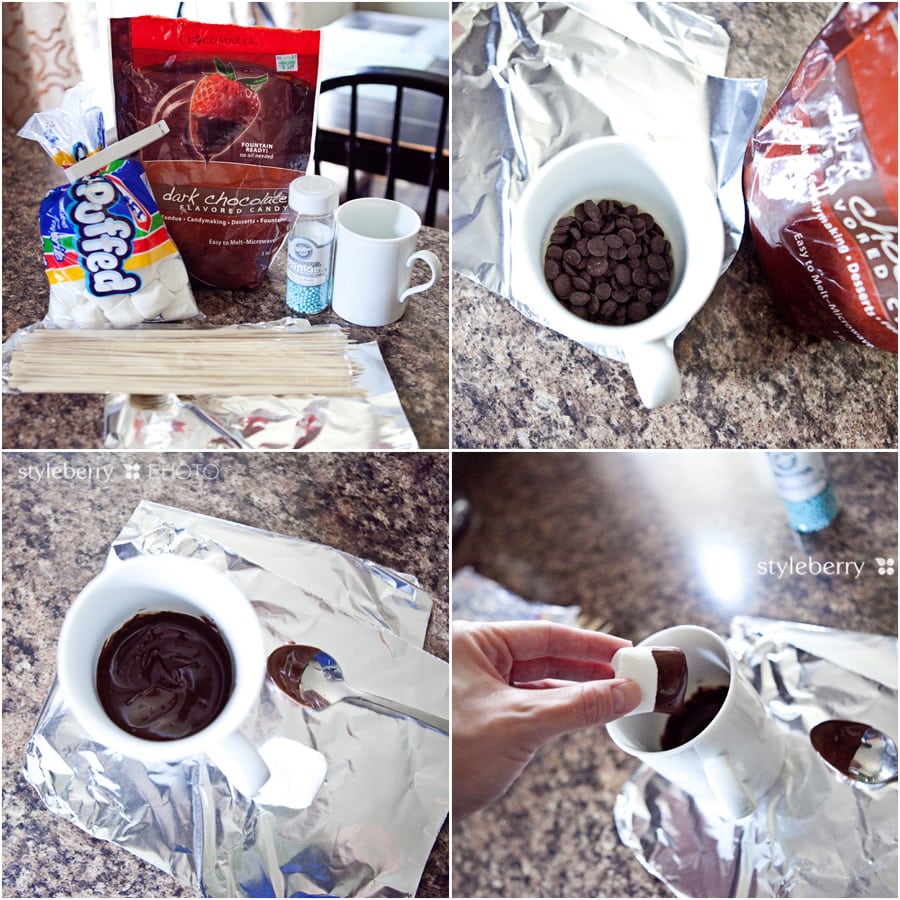
3. Place on foil to cool a bit, not not completely.
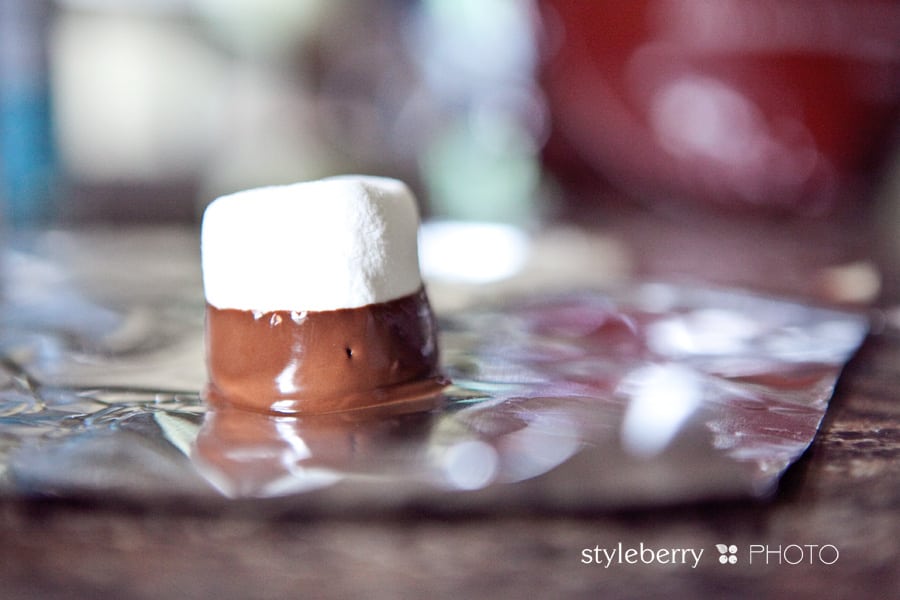
4. Pick up the marshmallow before it cools completely (2-3 min), it will look like the image on the left. Don’t freak out.
5. (if you let it cool too long it will harden & look like this–which is not good, so watch them carefully!)
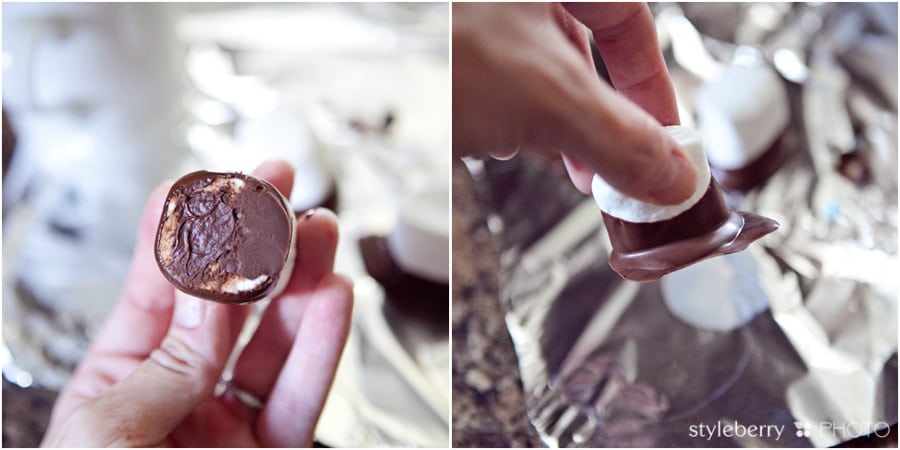
6. Make a little pool of chocolate on the foil. Dip the already dunked marshmallow in a little more chocolate to cover the ugly bottom.
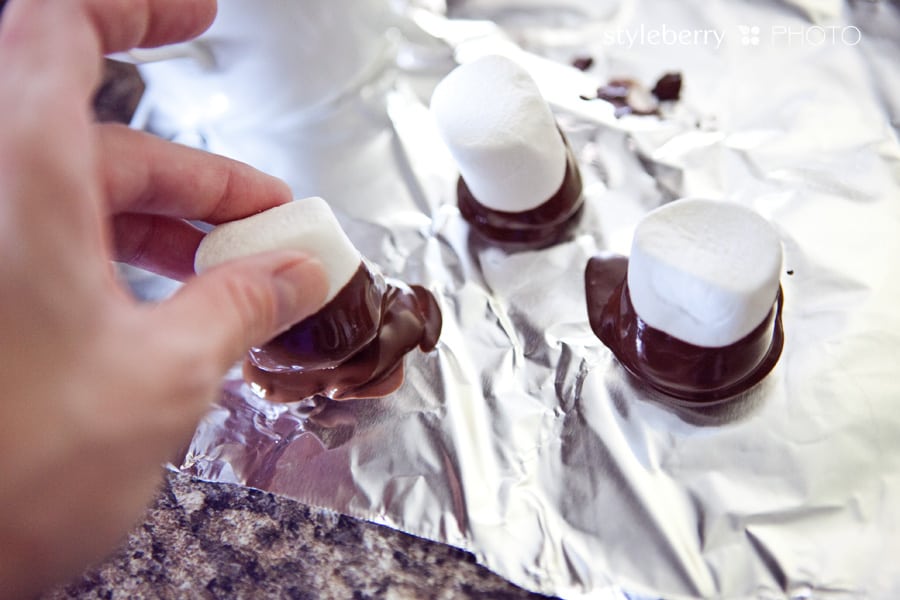
7. While holding in one hand, use the other hand to sprinkle on the decorations. You could also dunk it in a bowl of sprinkles if you are using the really little ones. These were too big to do it like that.
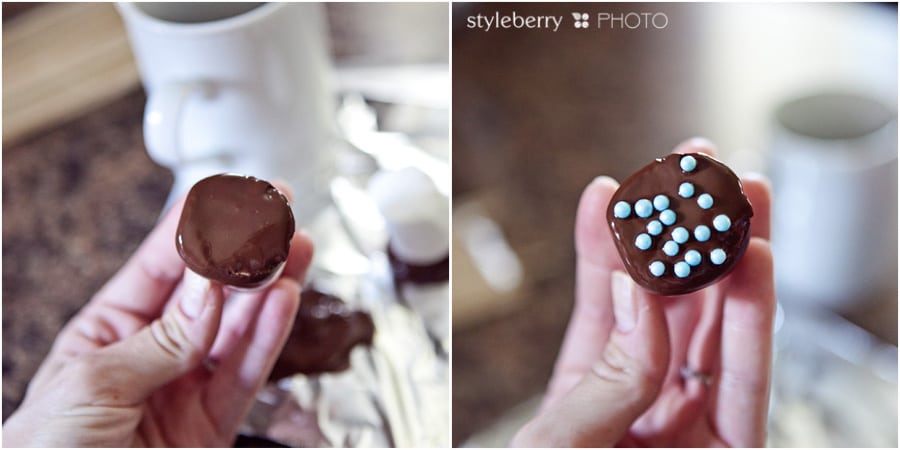
8. Immediately put on the skewer & let cool completely while upright. I put the skewers in a heavy glass cup & let them cool. You could also use tall lollipop sticks if you wanted the stick to be white. I wanted these to be long to flank the cupcake display on the table, so I opted for length over color.
& there you have it: pretty chocolate dipped marshmallow pops!
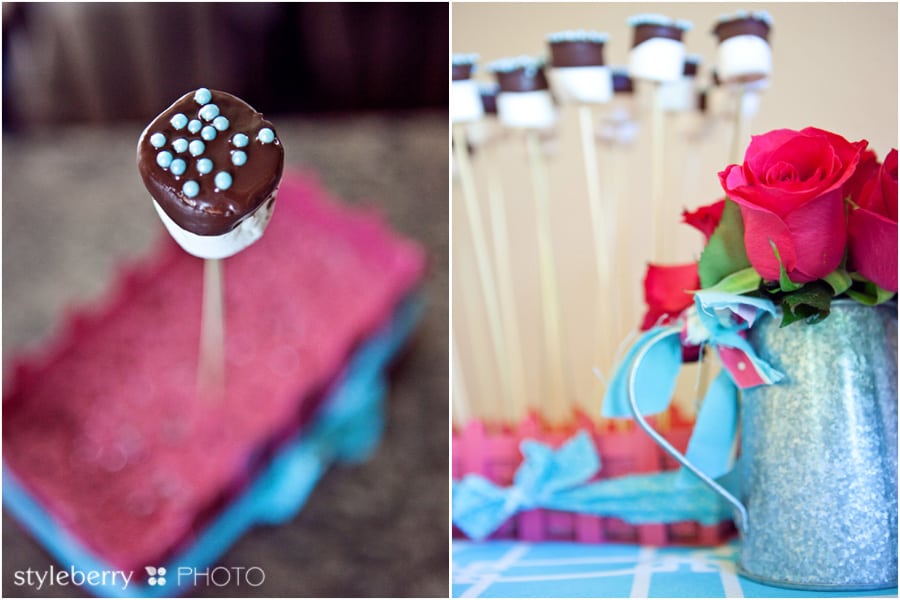
But what on earth do you stick them in? I have seen them done a few cute ways, but here’s what I did…& it cost me NOTHING. :):):)
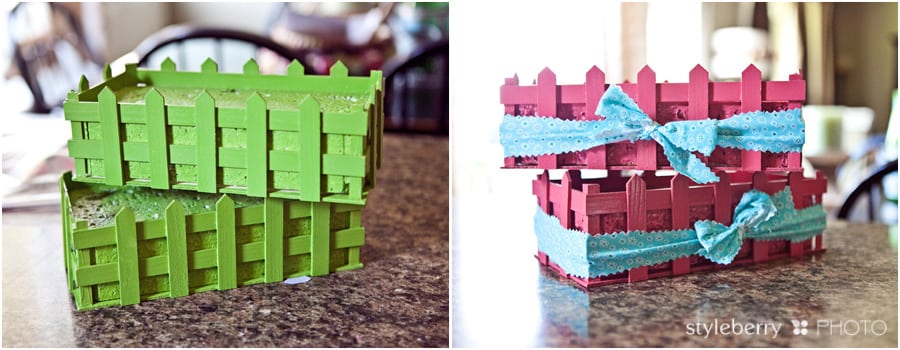
Hobby Lobby had these pinwheel displays in their seasonal/garden section & they had a TON of empty ones. I had a vision…& tracked down the store manager & asked if he’d let me buy a couple. He said he was just going to throw them away, so I could have them! A couple coats of spray paint + some scrap fabric tied in a bow & you’ve got a free display! :) You could also use a block of the green floral foam & put it in any container to hide it. I also recently saw Beth wrap a foam block in wrapping paper to serve her cake pops–it was super cute! I almost used the jars I put the forks in…& that would have worked too. & would have cost me nothing. So just get creative!
Total cost~ about $10. Big bang for your buck!
& this was my original inspiration–but I decided that dark chocolate was much yummier than the alternative. Not as pretty, but YUMMY nonetheless!
Source: hostessblog.com via miss shawna on Pinterest
BUT…if you were trying to match a party theme, you could always buy the white chocolate (like the dark chocolate I used) & add some food coloring to make the perfect color. You can also buy pre-colored melting candies that you’ll find in the candy making aisle. What fun!


