I don’t know about you, but the one thing pinterest totally helped me fall in love with was the idea of interior barn doors. They kept popping up every time I logged on & I was so inspired. There were all kinds, all price ranges. But they were functional and beautiful & I had just the right place for them. This DIY Barn Door Project was my favorite & definitely inspired this project.
We’ve been converting a room in our home that has no doors into our hybrid office/guest room space. It used to be just an office. & then we added the daybed. Now with all of our rooms full upstairs, we need a little bit of privacy for our out-of-town guests downstairs. Barn doors seemed like the perfect economical solution…until I started price shopping…
Many interior barn doors are hung with Flat Track Barn Door Hardware. As simple as it is, each 4 ft track will set you back no less than $500. Not including the doors. Well…I knew we needed about 10ft of track. & we’re a military family. Translation: we’re moving soon & I do not put much $$ into my house–especially if I can’t take it with me. So with a hardware total skyrocketing above $900 before we even started talking about doors, I had to start brainstorming. What are the options? What do farmers use on their BARNS? Surely not hardware that costs $900 right? Well. The answer was NO.
A little creative thinking, some time googling, a few phone calls & a tip from my uncle (who used to own a farm store in Wisconsin) & I was at the Tractor Supply Store picking up hardware. Turns out you can buy a 10 ft box rail for $36 and trolley hangers for about $20 a pair. That makes my hardware investment under $100. Score one for my bargain shopping skills. ;) I’ll give you a supply list for our entire project–show you how we did it–& all for about $300. Not even kidding!

Barn Door HARDWARE Supplies:
- Box Rail (mounted to ceiling, into studs)
- Trolley Hangers (x 2 pair)
- long wood screws to mount track to studs
Barn DOOR supplies (all purchased at Lowe’s w/ our 10% military discount):
- Whiteboard Wood- 1x10x10 (x 8, used four vertically for each door, cut to correct height)
- Whiteboard Wood-1x10x8 (x 2, used horizontally across top & bottom of doors)
- Whiteboard Wood-1x6x10 (x2, used horizontally across middle of doors)
- Whiteboard Wood-1x10x12 (used across the top to hide the track)
- Whiteboard Wood-1x6x8 (cut lengthwise, to fix the whoops, more on that below)
- L brackets (to mount track hiding piece)
- drywall screws (to screw wood for doors together)
- door pulls
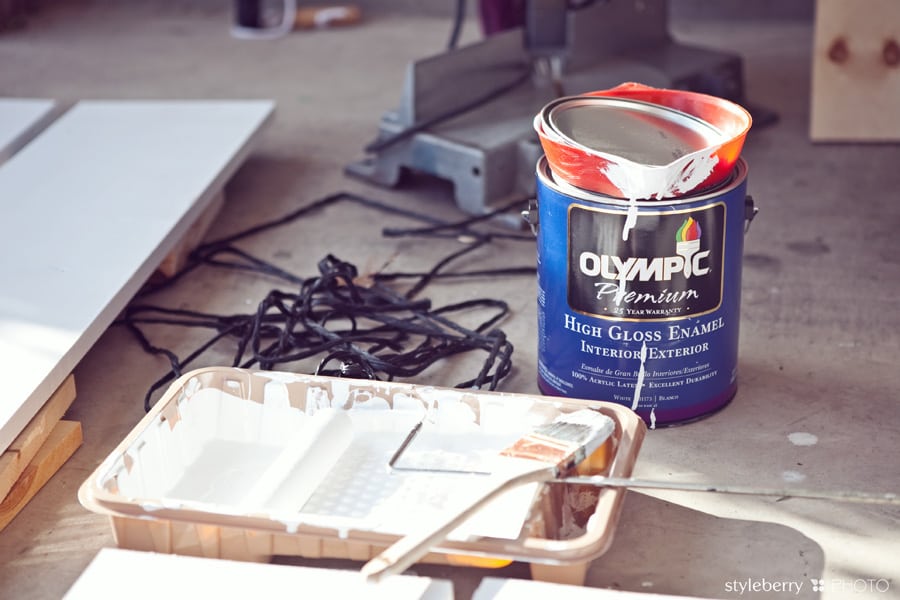
- Paint (I used about 2/3 of a gallon of high gloss white) & supplies to paint
& here’s how it was done:
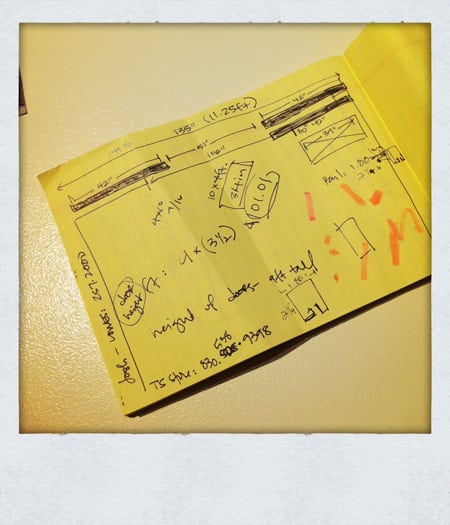
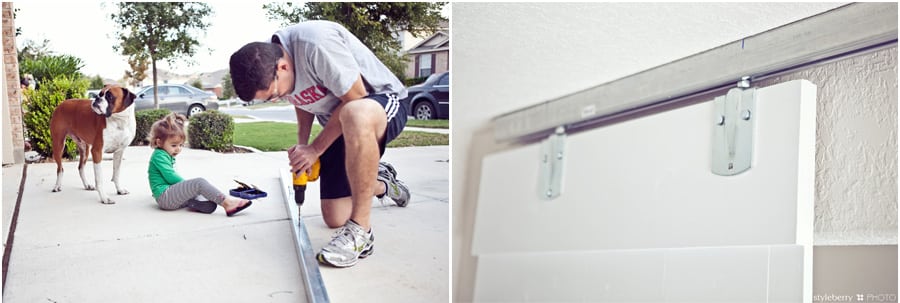
The track plan:
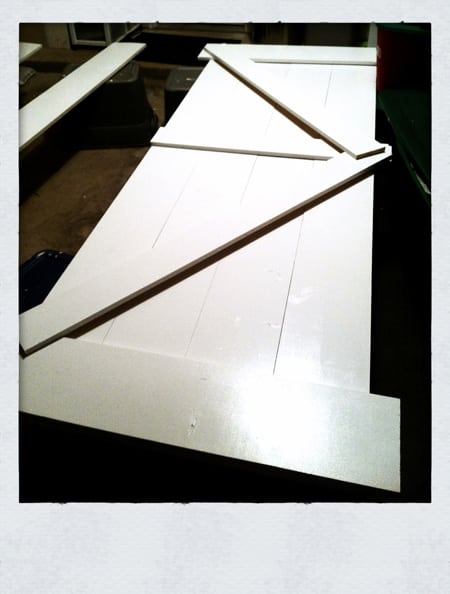
The door plan: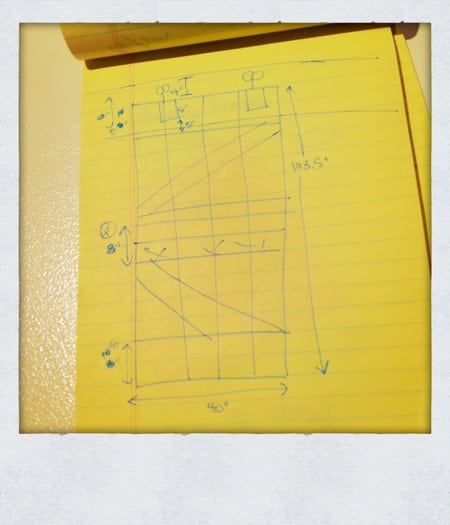
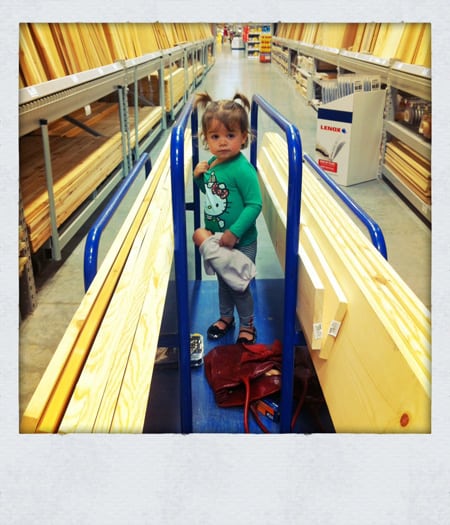
& my awesome helper:
I painted all the wood before we assembled it into doors. Each piece took two coats all the way around
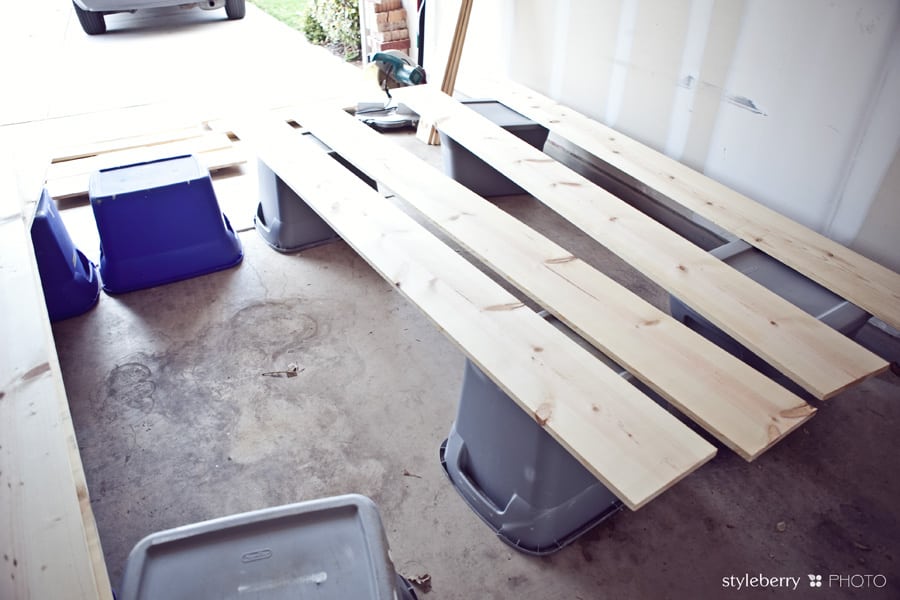
I used this paint…because it was the cheapest. It worked great! I rolled it on & used the brush to touch up the sides.
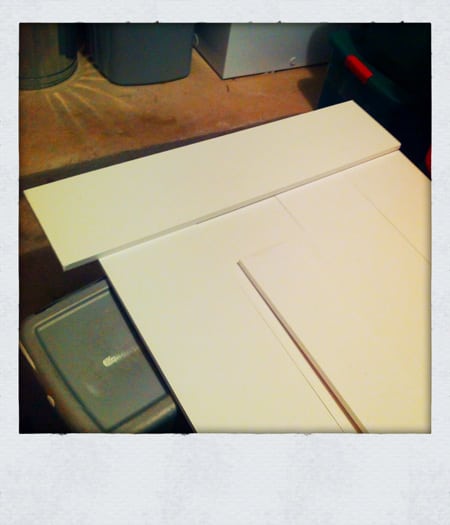
& please, please, please learn from my mistake. We got ready to assemble & pieced all the wood together…only to learn that 1 x 1 x 10 really meant .75 x .75 x 9.25. All my horizontal cuts were off because the wood was NOT the dimensions listed on the signs at Lowe’s! Apparently this is normal–so do your math in person! Do not trust the posted dimensions!
 Post bedtime door assembly.
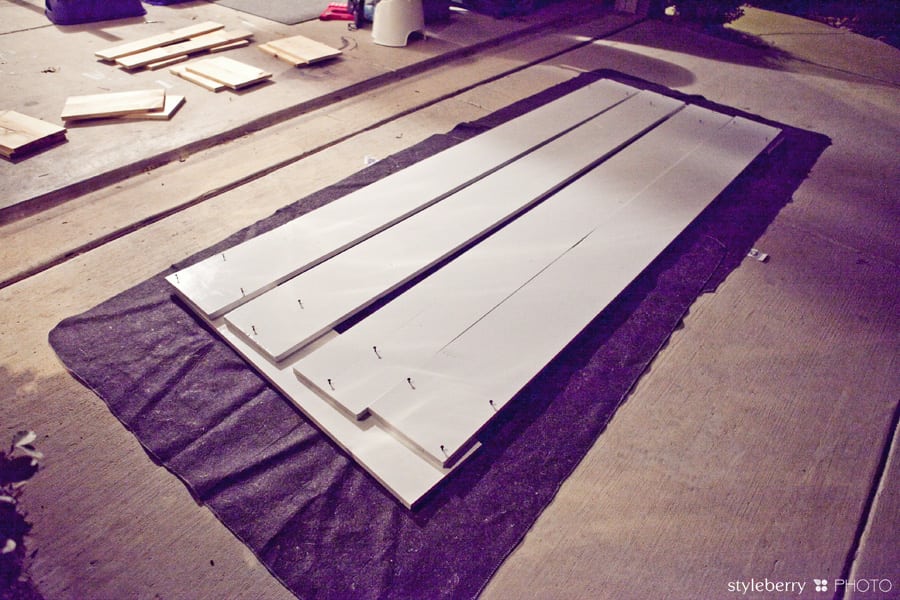
During assembly I decided against my original door plan & left off the diagonal accents. I like it better without them.
Next up…getting the track up so we could hang the doors! My hubby found the studs & drilled holes in the box rail while I was painting. We used really long screws to sink the track flush to the ceiling, making sure it was solidly into the studs above.
You’ll notice my rail is just a bit short for the opening. We didn’t have a saw that could slice through the metal box rail so we opted to get a rail that was about five inches short on each side. Since the doors aren’t that heavy, it’s structurally ok (the track can hold up to 400lbs) –but if you want it perfect, the rail should run wall to wall.
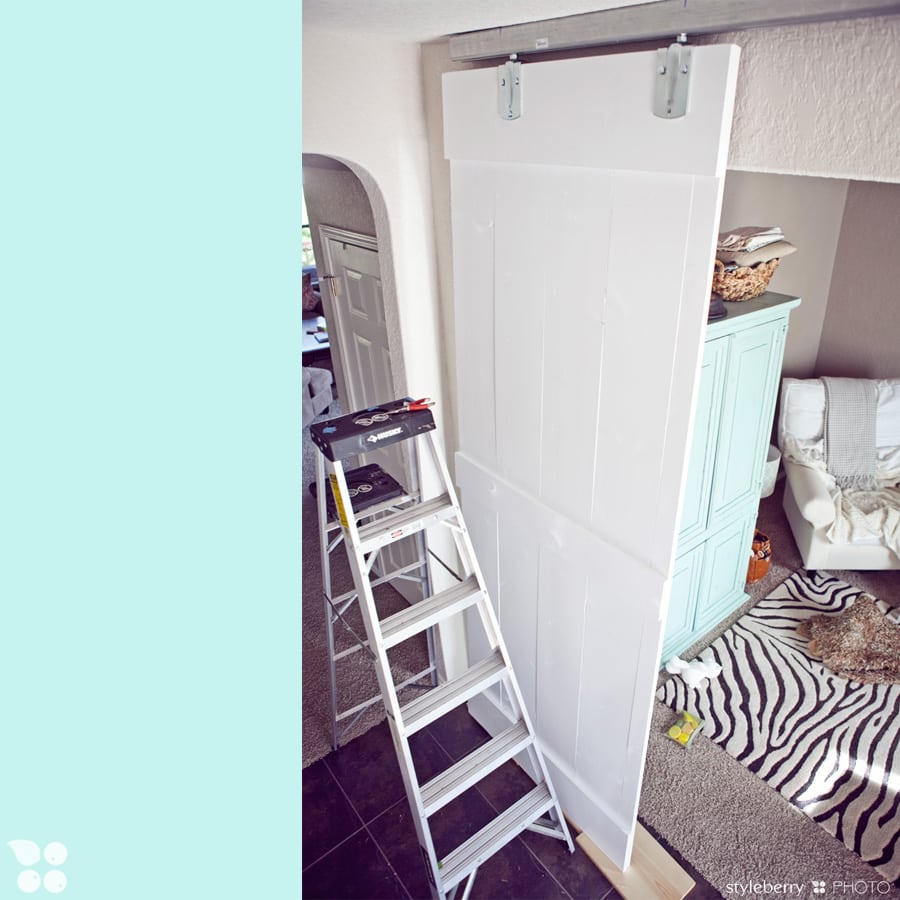
Here’s one door mid-installation with the hardware still exposed. You can see the “whoopsie” board on the right–it was our fix for the dimension problem above.
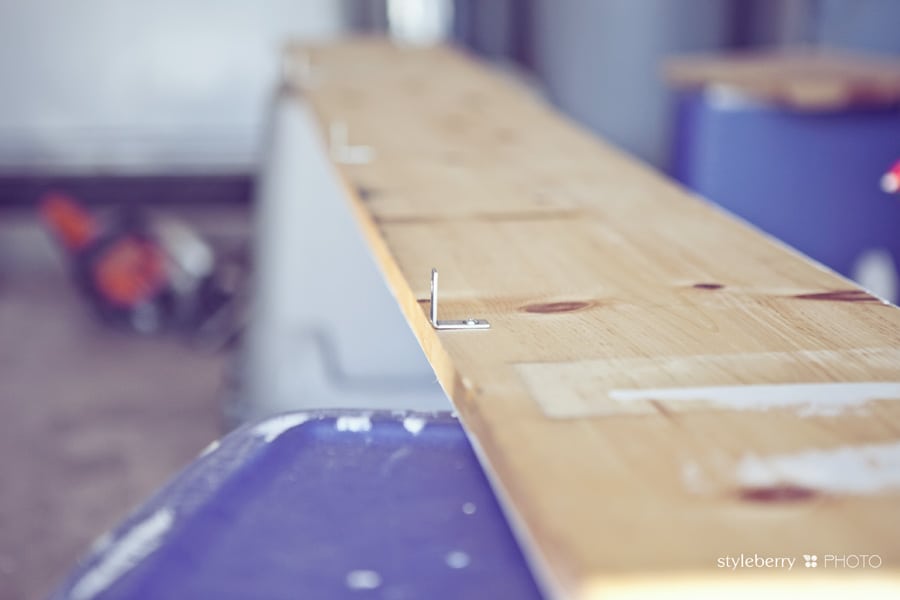
I painted another board to cover the hardware & we added L brackets to hang it into the studs.The L brackets had to be short, because they sat next to the track on the ceiling when mounted.
I then painted the trolley hangers white, because they stuck out just a wee bit from under the “hardware hider” & I could see them from where I stood below.
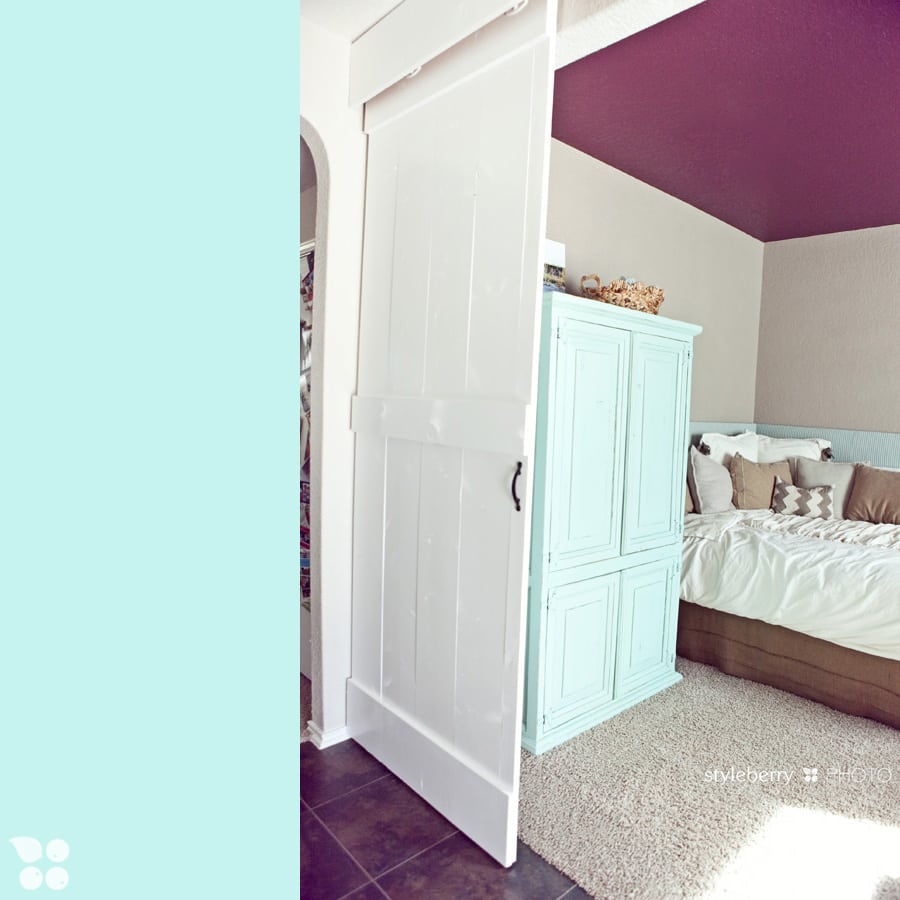
But I kind of love my barn doors. :)
& if you can use a power drill, stud finder & can sweet talk someone at Lowe’s into doing all your cuts for you…this project is easy as pie. Building “barn doors” is really not that hard!
Total work time: 2 naps & one evening.
You could totally do it.
Promise.
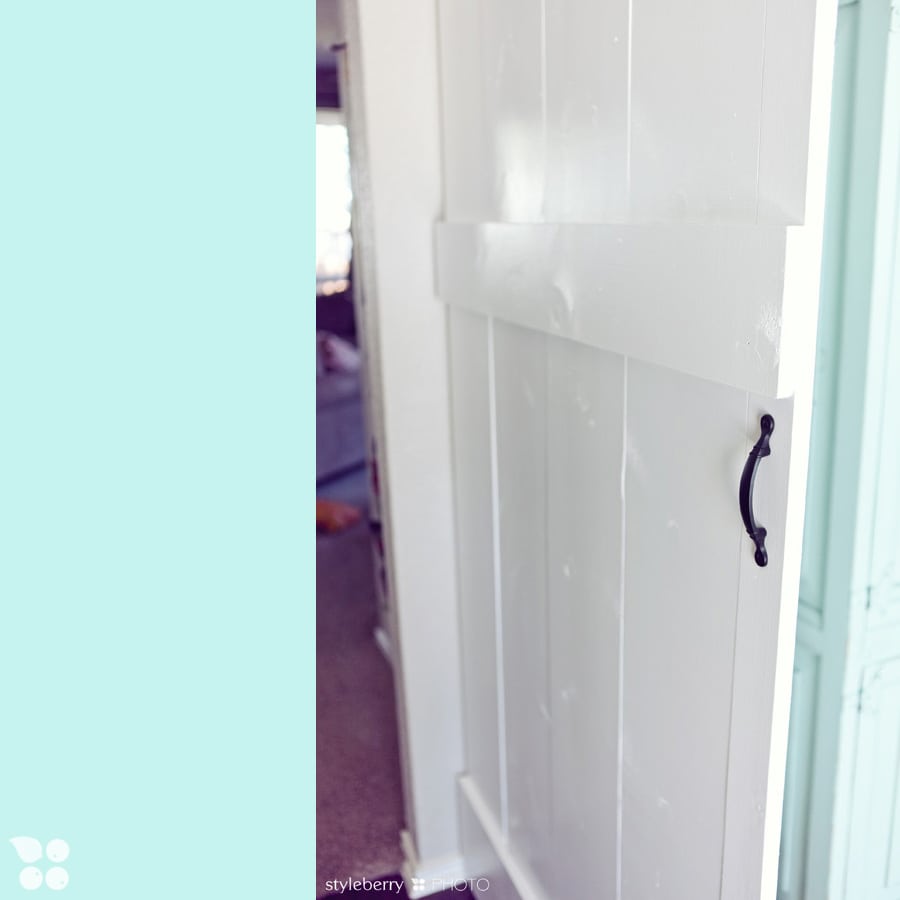
& they do slide. Just realized I have no pictures of them closed–but indeed, my DIY barn doors are functional! ;)

