Tap, tap, tap…is anyone still there? I know, I know. I am the non-blogger, blogger. I think I have been turning on my computer about twice a week. Will this life with little people ever be less exhausting? Who knows. But I am doing what I can. They are first. Me second. Then the husband. & everything else is a distant…fourth? I don’t like it, but this is the way life is right now. We are still in survival mode here, with my husband’s work schedule the way it is. But “survival” has been looking better. Why? I started taking care of me. More on that eventually, but that “taking care of me” part means I am going to the gym five-ish days a week. I’m doing lots of yoga. Throwing around weights. Getting stronger, in all ways. But…my daily wardrobe sure looks different! Enter: workout accessories.
Whaaaa?
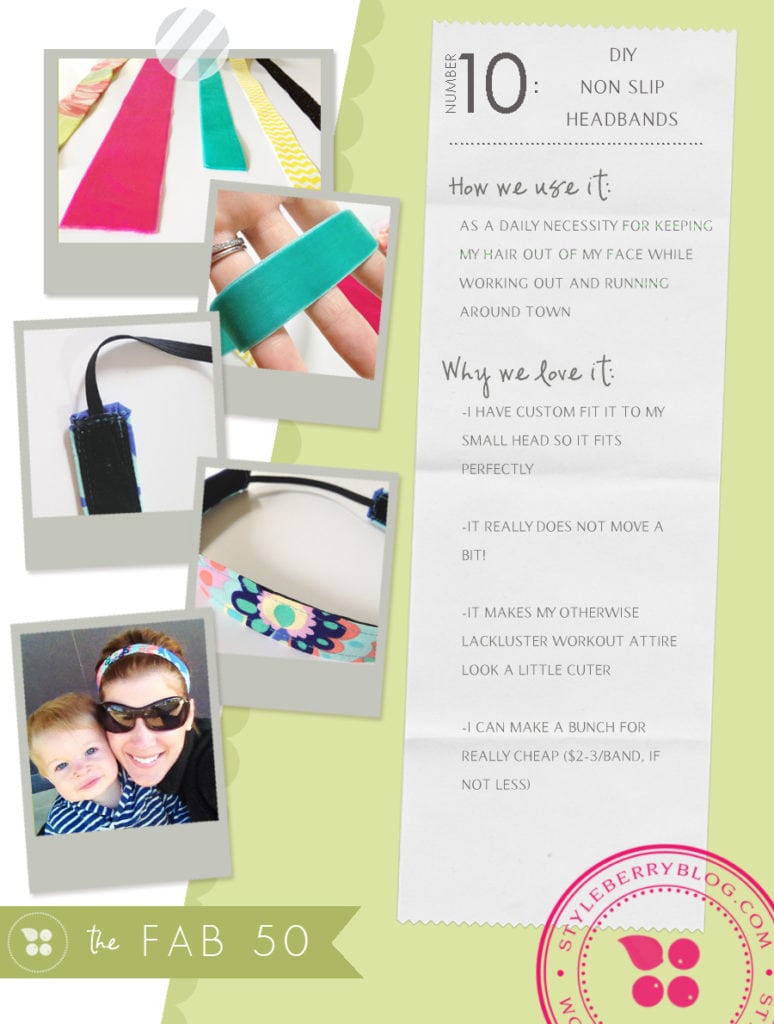
For real. You can only get so creative with spandex & spandex. Why not wear at least one cute thing while you’re sweating it out!! So I decided to make myself some headbands. I’ve seen several people in my life rave about their headbands. My SIL loves the one she picked up at a race recently. & after looking at how they were made I instantly thought…”hey, I could totally do that.” I mean, spending $20 on a headband is just not something I’d love to do right now. So I hopped to it! & surprise, surprise–they are SO easy. Here’s my latest project:

WHAT YOU NEED
- velvet ribbon
- ribbon/fabric about the same width as the velvet ribbon
- thread in a coordinating color
- elastic band (I used 1/4 in, braided in black)
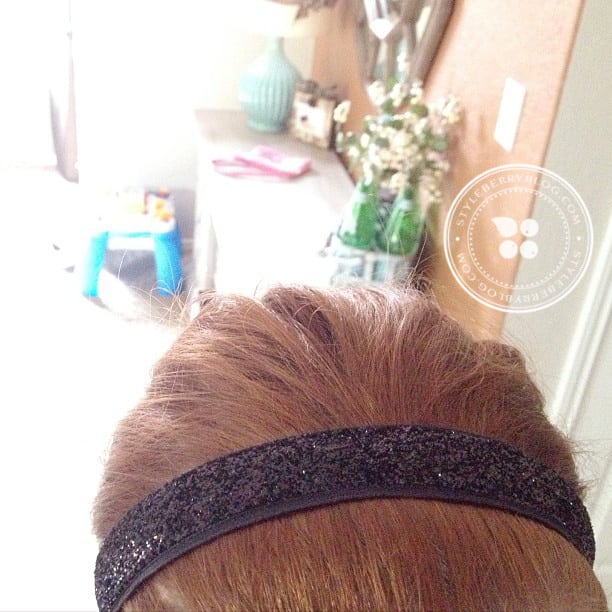
The secret to success here is VELVET RIBBON. It doesn’t budge! I found mine at Hobby Lobby, on sale for $2. You can find it at any fabric store. HL has the most color & width options. I have black, turquoise, pink & hot pink. You want the velvet side DOWN towards the hair. The easiest way to make them is to literally sew two ribbons together. I found a ribbon that is super shimmery & made my first headbands out of that. It hid everything. I am actually wearing it right now! See:

HOW TO MAKE THEM
- Choose two ribbons about the same width and sew the ribbons together the long way, leaving the short ends open
- Take small piece of braided elastic & stick it in between the two ribbons, then sew one side shut
- To get the perfect fit, try the unfinished headband on (it’s easiest if you put in on upside down, elastic at the top of your head, during this step) and play with the tension of the elastic until it feels just right–you do want it tight, as it will stretch out a bit. Then pin it & sew shut.
- For synthetics, you can use a lighter to melt the edges of the ribbon on the ends so they are not raw & do not fray. (I am talking about the little short ends here, where the ribbon was cut)
Now if you want to get fancy like the colorful one you see up there, then you need scrap fabric. I folded & ironed a strip of fabric just a little wider than the velvet ribbon & sewed it on. As you can see in the picture, I tucked the short fabric ends under the velvet ribbon where it attaches to the elastic. It was a little trickier, but it is my FAVORITE! I get compliments on it every time I wear it! :) I would not recommend sewing these right sides together, then flipping over & sewing again, as the goal here (at least my goal) is to have the fabric lay as flat as possible on your head.
Super easy. Super fun. & definitely something sassy to add to my five day a week sweatproof wardrobe. :)
Oh–and size guides? Well, the great part is that you can really make the headband perfectly for YOUR head by measuring after you’ve got it mostly complete. But my favorite bands have 15 in of ribbon/fabric and 4.25 in of elastic exposed. But mine actually fit caroline perfectly (she does have a 99%ile noggin) so please know, that my measurements may be a bit small for an adult! 14-15 in of ribbon is a great start though. The elastic is where you’ll really customize. Happy sewing!


