I am a DIYer. You know this if you read this blog frequently. I can rarely find things in stores that I like & when my brain starts spinning, I just have to make my idea come to life. & most of the time, that idea is not something that can be purchased.
Halloween was no exception. I asked my caroline what she wanted to be and time after time she answered “bitsy ‘pider.” As she is currently obsessed with spiders & the itsy bitsy spider & this book, which she can recite from memory. So after a weak attempt at finding a spider costume online, I decided she should be a spider princess. An idea she loved even more. She found a giant spider (the one on her back in yesterday’s pictures) at Tuesday Morning & she carried it around the house for weeks. She brought it potty. She put it in her stroller. They were inseparable. I thought it would be cute worn as “fairy wings” that looked like spider legs, but she needed a spidery tutu to go with it. Nothing in stores was what I was looking for. So I googled & you tubed & bought supplies. :)
Turns out making a tutu is ridiculously easy. AND crazy cheap. Want to know how? Let’s make one!
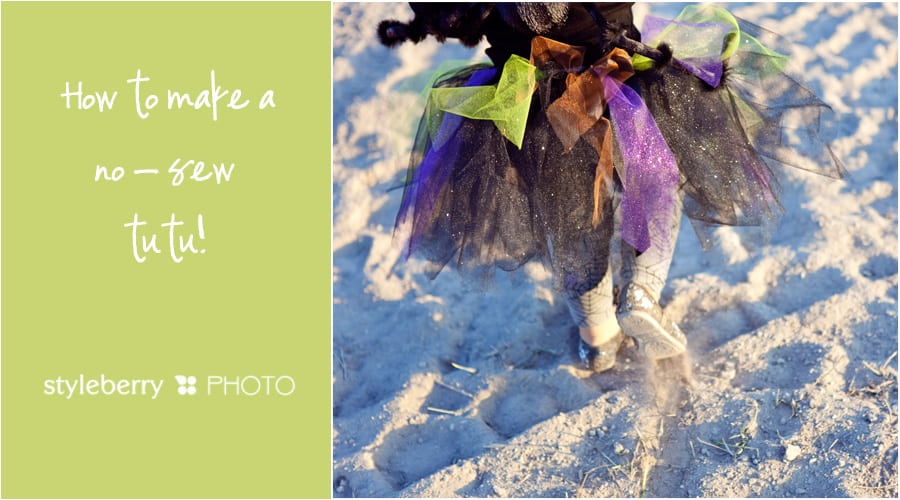
SUPPLIES
- ribbon (2-3 yards, about a half inch to 3/4 wide)
- scissors
- tulle (if using spools like below, about 3 spools at 10 yds each OR on the bolt, about 5 yds)
- a bread knife
- cardboard (between 10-18 inches long)
*If you are more of a “watch it” not “read it” kind of gal, there is a video at the end. ;)
1) Begin by making a knot about a foot into the piece of ribbon. Measure the ribbon around the little girl’s waist, tying another knot to mark the circumference of her waist, leaving another foot of ribbon at the end. Knot to knot should wrap around the child’s waist perfectly, with a foot of ribbon on each end to tie a pretty bow.
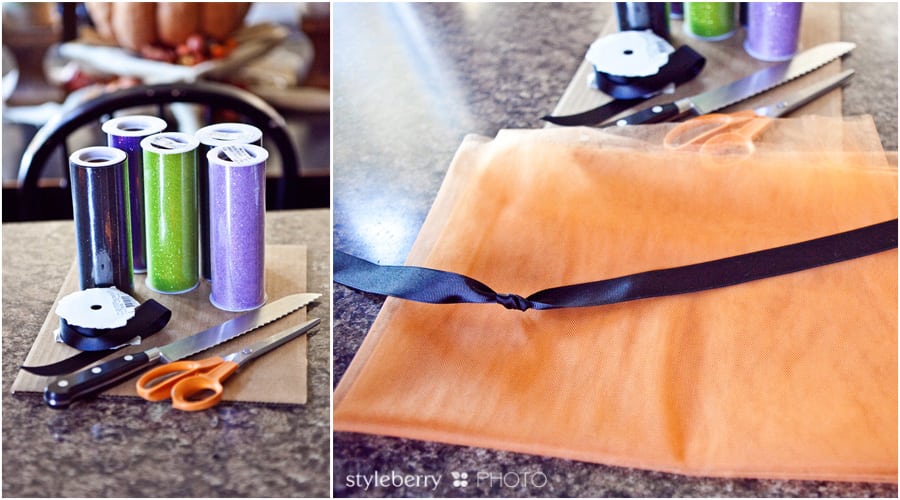
2) Next, take your spool of tulle & use the bread knife to cut it in half.
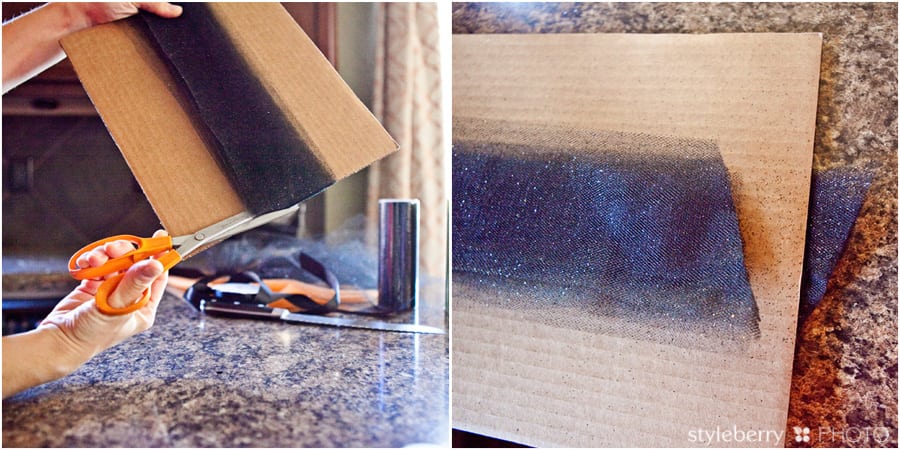
3) Wrap the tulle around the piece of cardboard until you run out. My cardboard piece was 10 inches long. You can make yours shorter or longer, but this will be the length of your tutu, waist to knee.
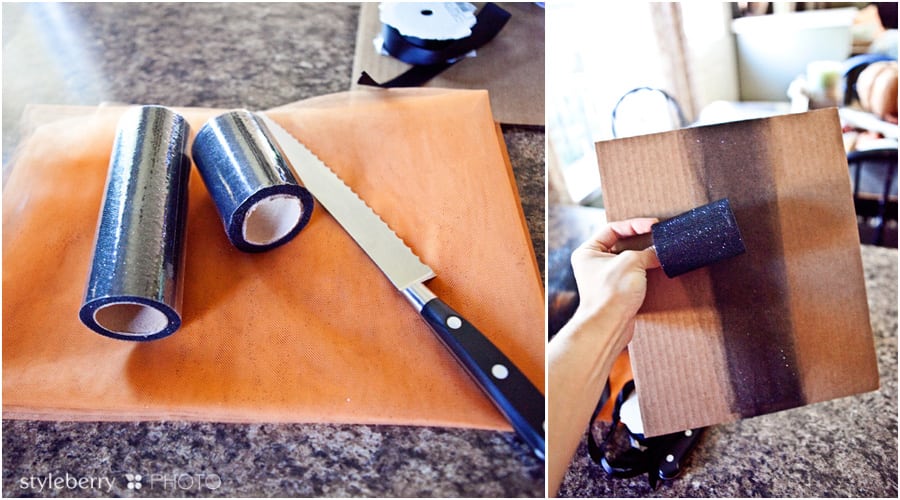
4) Cut the tulle that you have wrapped, which will produce a bunch of pieces that are the same length. I like to cut mine at an angle, resulting in a pointy edged tutu, but you can cut it straight across if you’d prefer.
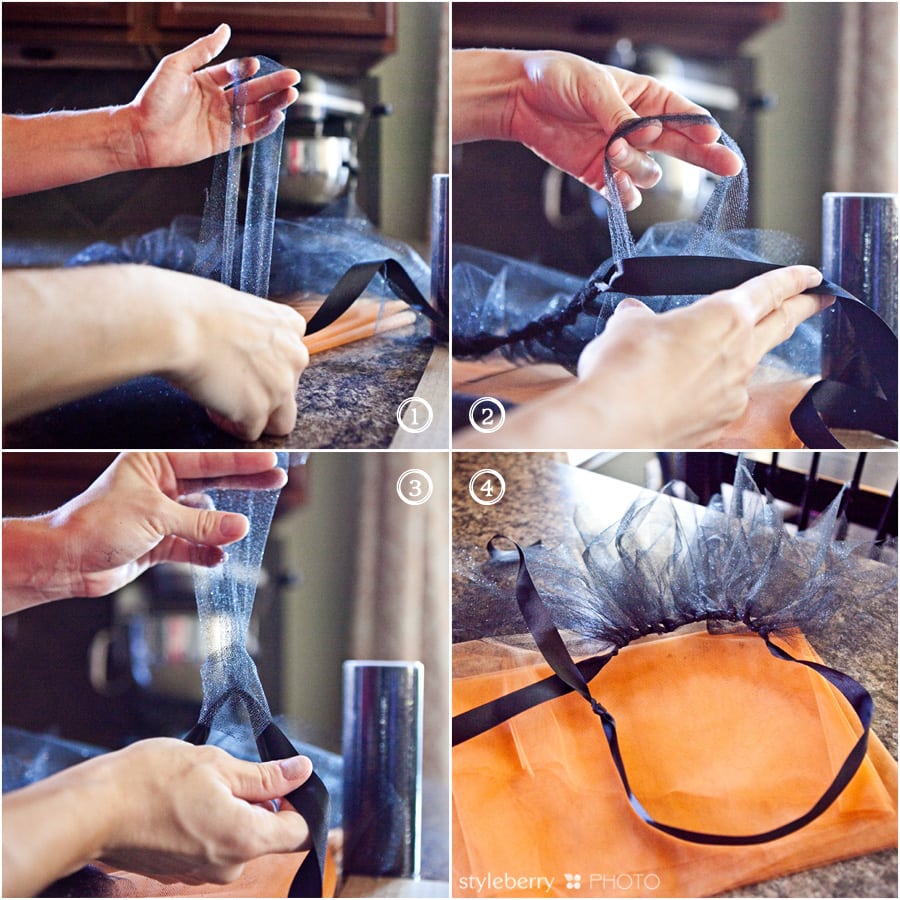
5) Next you are going to tie the tulle pieces to the ribbon. Take one strip of tulle & fold it in half.
6) Feed the tails of the tulle through the loop, around the ribbon. & pull tight. Repeat. If you need a visual, watch the video–it’s much easier to show than to photograph.
7) Continue to tie the tulle to the ribbon, sliding the pieces as tight together on the ribbon as you like.
Other things you can do:
- mix colors during or after, by sliding the tulle on the ribbon & adding little pops of color in.
- add patterned/textured ribbon to the tutu in the same way that the tulle is attached.
- add a bigger bow to the back.
- make extra long for a real princess effect.
- experiment with the different kinds of tulle–“shiny” or “glitter” or “flat”
- make as gifts for little girls for special occasions. add a crown & a wand and your gift will be a huge hit! My nieces are getting fairy kits for Christmas. :)
- what else??
Here is our finished spider princess tutu. :)

glitter tulle is not the easiest to work with & it does get sticky (as in, it does not really “float” or lie flat) but it sure is pretty!
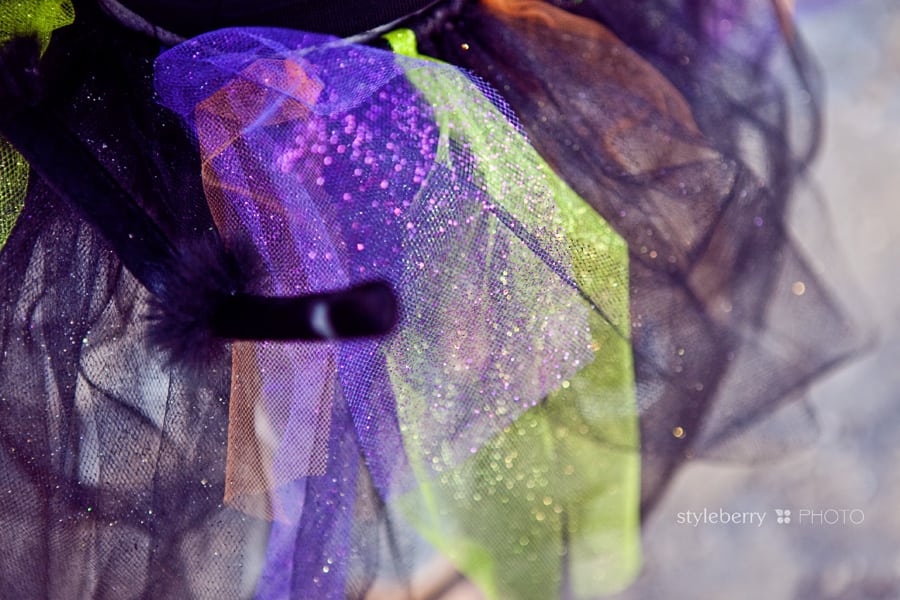
We had quite a battle to get if off on Halloween…so I do believe there will be more of these in our future, just for everyday play around the house! :)

Do you need to watch instead of read? Well here’s a video tutorial showing you how to make a no-sew tutu. Enjoy!


