Back in the day I used to do a lot of DIY tutorials around here. It’s been awhile since I walked you though one and after sharing it on IG & getting some “yes, please teach me!” feedback–I thought I would do a super simple one. I love easy projects. & this is such a great one for this time of year!
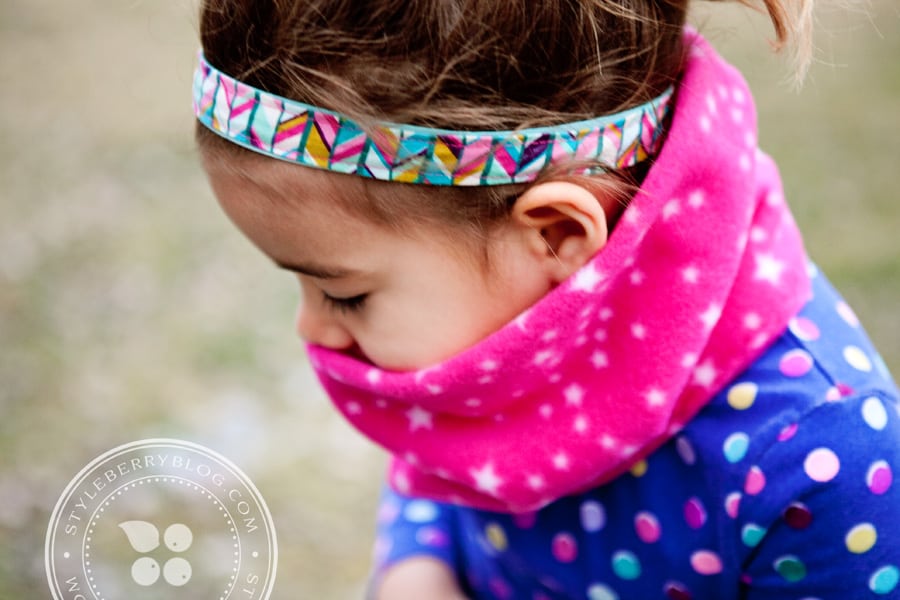
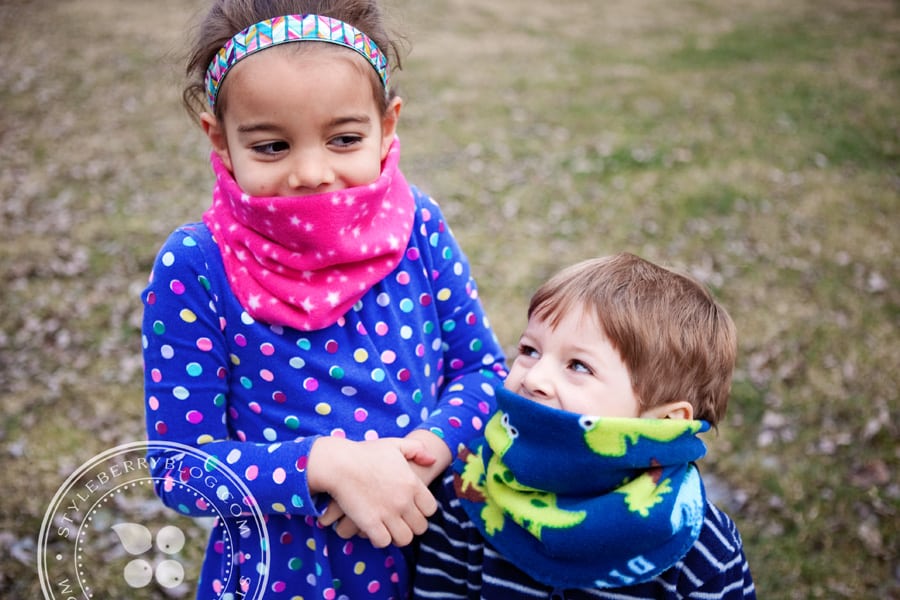
It’s cold out & the kids want to play outside. Their little faces get cold despite all the bundling & I don’t know about you–but I am not a big fan of scarves for kids. All that extra fabric and years of preaching “don’t tie ANYTHING around your neck” led me to a better option. Could I buy one? Sure. Maybe that’s what works for you. Go for it! But just as all my sewing projects come to be, I arrived here out of necessity. Do I love sewing? NO. But… (a) I couldn’t find the color I (they) wanted & (b) I could make it waaaaay cheaper than I could buy it. & I need a few. Quickly. So here’s how we did it!*
*I am a self taught sew-er and I am sure there is a better way to do this/explain this, but this is my version!
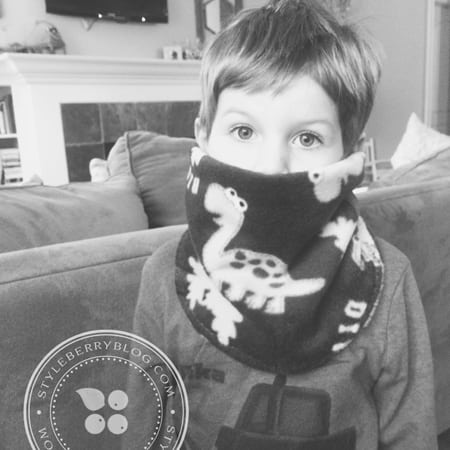
DIY KIDS GAITER
Supplies
- fleece: I found ours on sale super cheap at Hobby Lobby (check the remnants bin!) & I bought 1/2 yard for each child. I let them choose their own patterns so they’d be able to pick them out of the pile of snow gear at school
- thread
- sewing machine
- measuring tape
- scissors
- pins
Directions
- Cut fabric into a rectangle.
- For my 3yo, I cut a 17″ x 21″ rectangle
- For my 6yo, I cut a 19″x 22″ rectangle
- Fold fabric in half, so the short (17/19″) sides are touching, right sides together. This will be the seam up the back of the neck, as the longer length will make the circle around your child’s neck.
- Sew down the short side. Double check that the right sides are together before you sew.
- Now fold your “donut” so the seam you just sewed is half on the inside, half on the outside of your folded donut. (It kind of looks like a tortellini) The ends of the seam you just sewed will touch, causing the fabric to be open on one side and seamless on the top, where it will touch your child’s face.
- Check to make sure you can get the “donut” over your child’s head.
- Now it’s time to sew it shut.
- Fold the unfinished fabric under, top and bottom. Pin both folded sides together, as pictured.
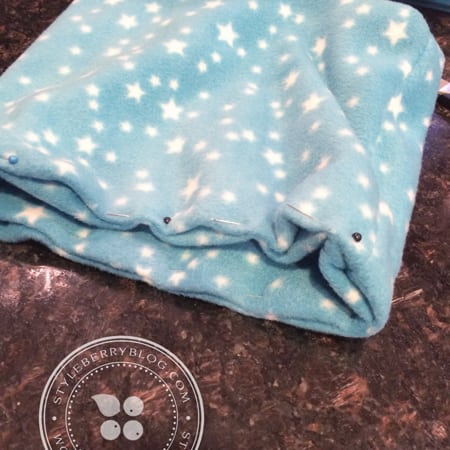
- Sew up this seam. I used a zig zag stitch on my machine for this part & pulled the stretchy fleece fabric a bit as I went, so it was a little wider at the bottom than the top, for ease of getting over heads.
There you have it! Now my kiddos are ready for their winter adventures! I spent $1.85 on each half yard of fabric–from which I can get 2-3 gaiters– making these workhorses well under a dollar each. Since noses get extra snotty when it’s cold, it’s awesome to always have a clean one on hand.
Any questions?
Oh, & we made the headband she is wearing too! Click here for the DIY Non Slip Headband. :)
Happy sewing!!


