I have been on a major DIY kick lately. I have several fun projects ready to post…so get ready to get creative!
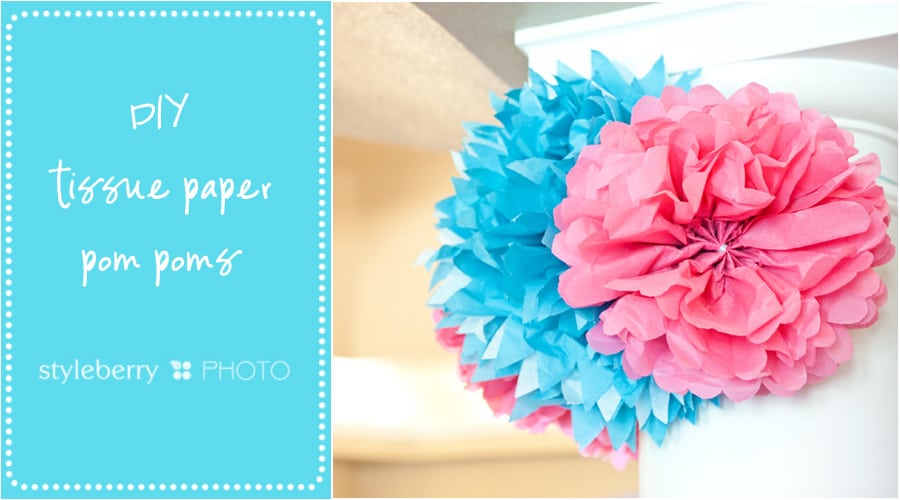
I like big decorations. Big decorations that don’t cost a lot & aren’t cheesy. I first tackled the tissue paper pom pom for caroline’s first birthday party last year & have made oh…fifty or so by now. I have figured out how make them in a fast & easy way, so I wanted to be sure to share! I made some for the shower (made a TON!) and they were so cute. Filled up a big blank space well. So here’s your visual…& if you reeeeeealy need to watch how it is done start to finish, there is a video at the end that you can watch instead! :)
SUPPLIES:
- tissue paper
- ribbon (you can also use wire, but I had ribbon on hand)
- a sharp scissors
STEP 1: Stack your sheets of tissue paper. For a big pom pom, I recommend 10-12 sheets, for a small one, 8 sheets. If you sheets are rectangular, start folding so the width of the pom pom is the shorter length of the rectangle.
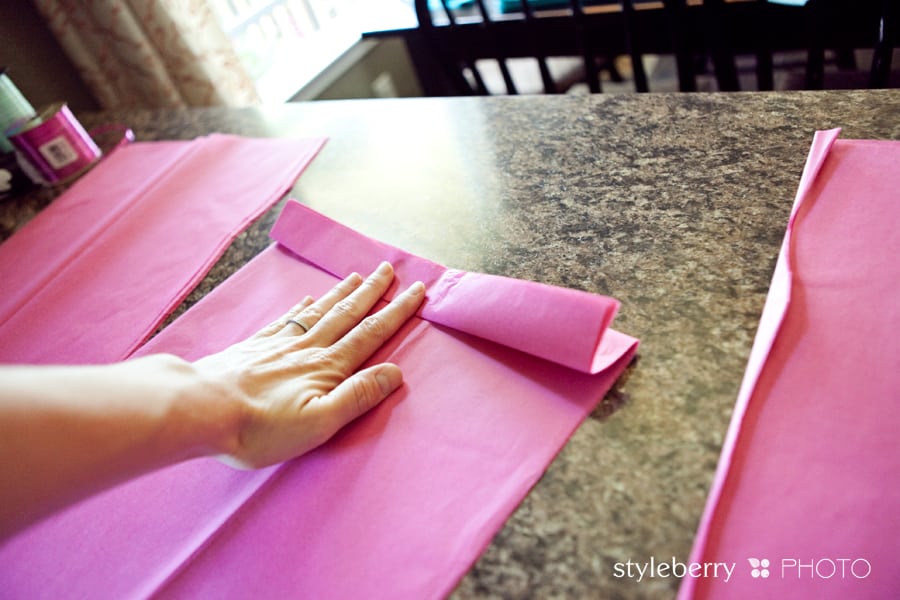
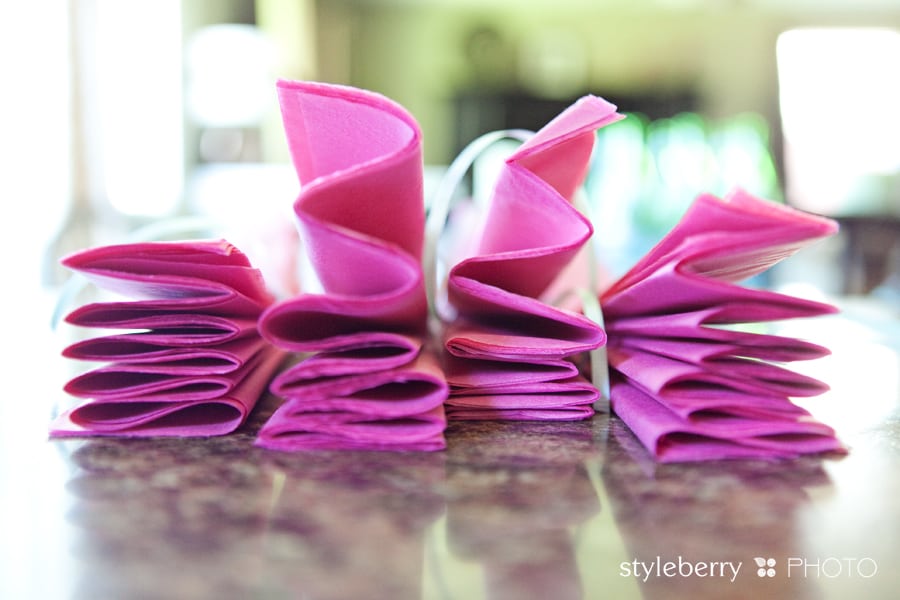
STEP 2: Continue to make accordion folds about 1.5 inches wide. Be sure to crease the paper each time you fold. 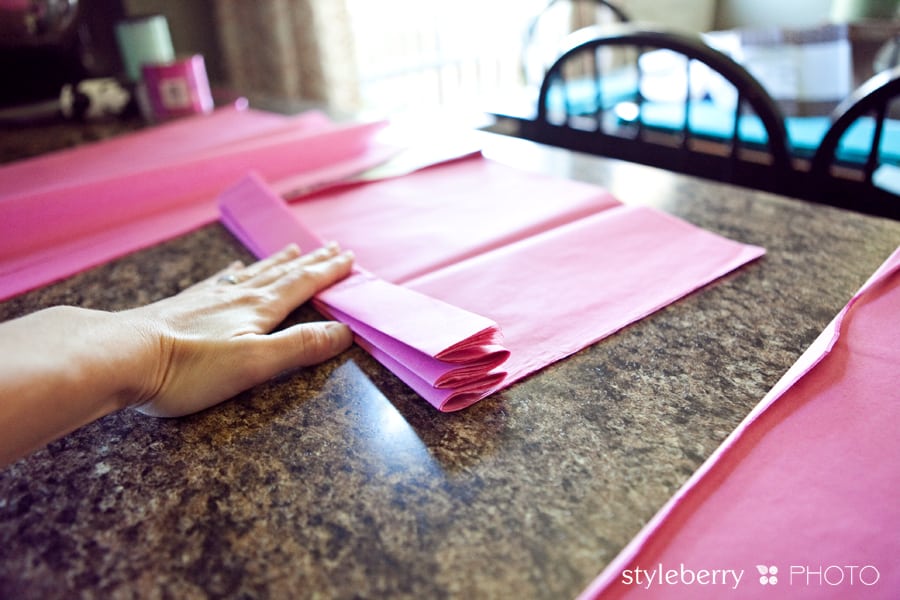
[This is what it will look like before you tie the middle] 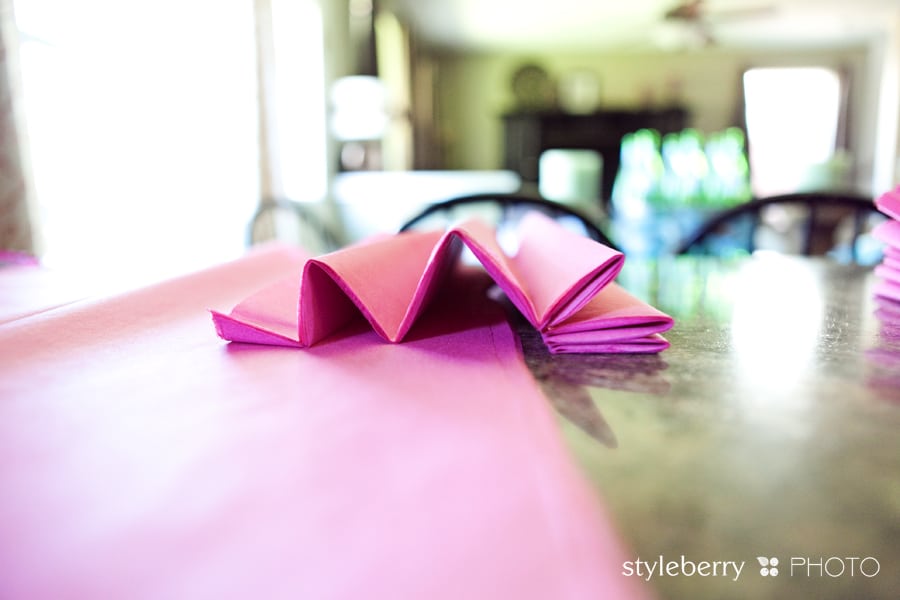
STEP 3: Find the middle of the paper (very important, or you will have lopsided pom poms!) & use your curling ribbon to tie it tight. Slide the knot to one side of the stack of paper.
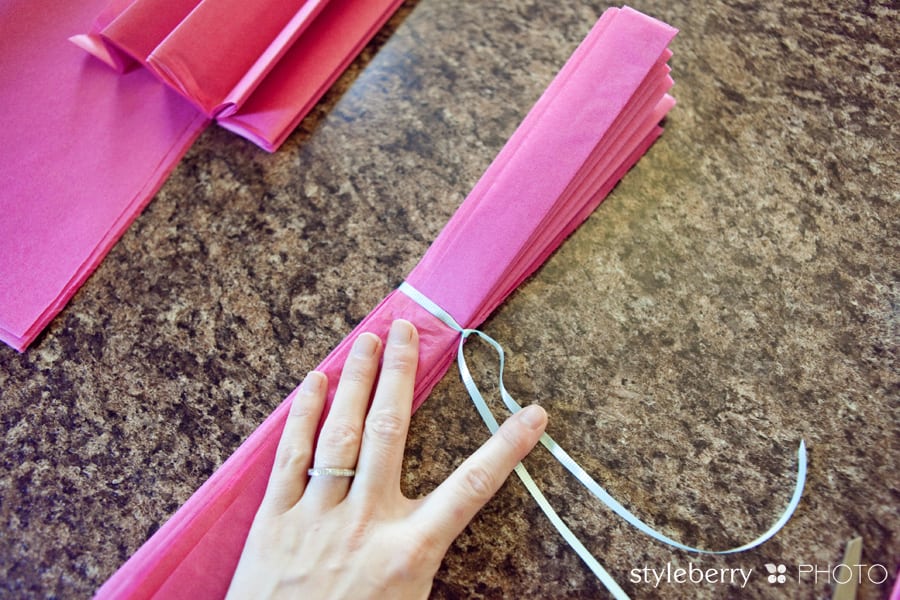
[if you are mass producing, this is a good place to stop. fold, tie, then finish the next steps later]
STEP 4: Using a sharp, heavy duty scissors (I prefer my kitchenaid kitchen shears) cut each end into the desired shape, either round or pointed.
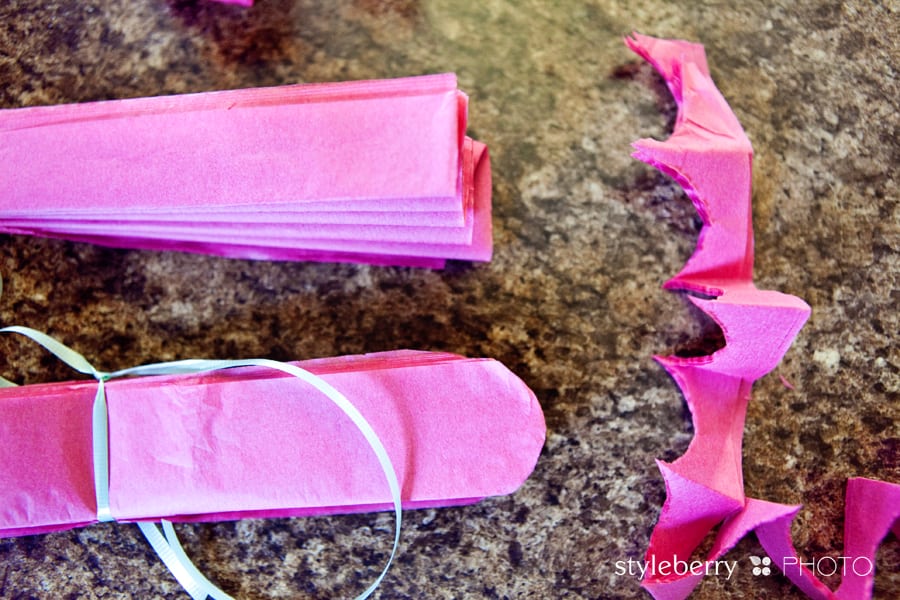
STEP 5: Poof them up! I found it impossible to photograph this well, so I just went ahead & made a video. My battery died at the end, but you might find it helpful to see the whole process start to finish. & if you are traveling to a party location, take them un-poofed. I traveled to Louisiana with then folded as seen in step 4 & fluffed them up upon arrival. MUCH easier to get them safely to your party location that way! :)
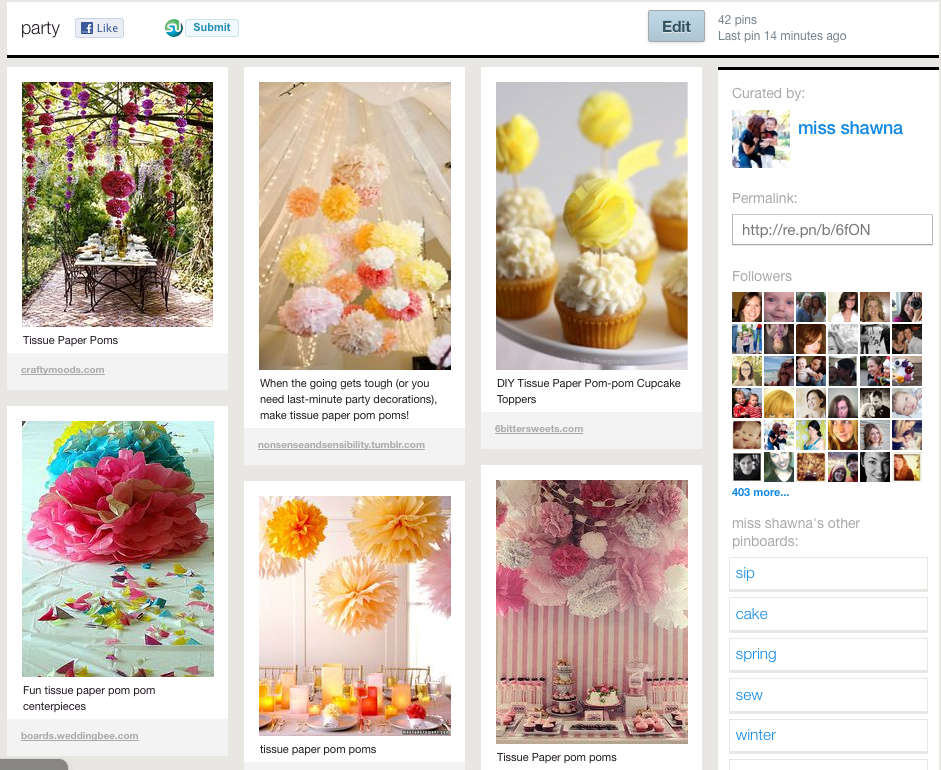
& if you’d like even MORE inspiration for how & where to use these, check out my party board over on pinterest! What FUN!!
