I’ve realized that about half of my projects actually make it to the blog these days. I am just busy busy & find that I don’t have the time that I used to to sit down & write! But I made a promise to myself that I’d let go a little & post stuff–even if it’s not in its final form. So today is one of those projects that probably would have been lost in the mix, because it’s not done. As in, the pictures aren’t printed. But, they will be–& we have plenty to talk about without the final images anyway!
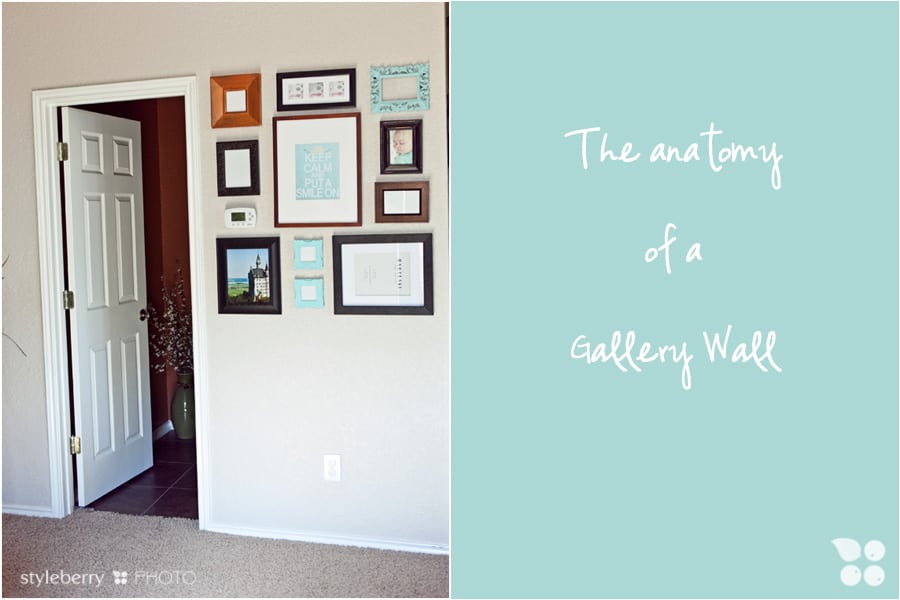
Gallery walls can be overwhelming. I’ve spent well over a year contemplating this one. At first, I wanted to cover the entire wall with BIG images. Then…I changed my mind. I’ve been stuck on the eyesore of an air/heat control panel that chops this wall up, but I think I’ve finally found a solution. I have had all these frames sitting in the soon-to-be nursery’s closet forever. Some of them are ten years old. Some are painted. Some need a bit more TLC. But they are all random finds from discount stores for $2-10. I need them OUT of the closet they were all stashed in, so–time to hang once & for all.
I laid them all out on the floor & added & subtracted until they all fit. I have six left over. Not sure where they’ll go. But these now have a home! Let’s walk through it step by step…
When choosing the kind of arrangement to hang, the first step is to determine the outside shape of the design. I like squares/rectangles. Not always (as is the case with my Gallery Staircase) but for this one, I made sure all four corners & most of the lines on the top & bottom followed a nice line for the eye to catch. I could draw a rectangle around the outside & everything neatly fits inside.
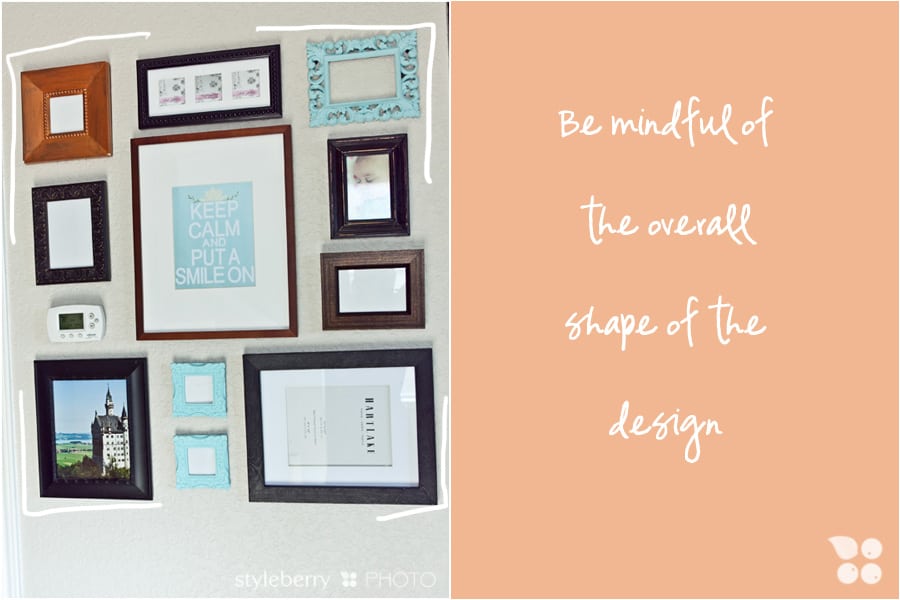
I used the middle frame in the gallery as my BIG anchor piece. I hung it first (the “keep calm” one–which will not stay like that–I am SO SICK of that phrase now that it is everywhere). I centered it on the wall & aligned it to my big eyesore, then decorated everything around it. I centered each of the middle, “supporting” frames under the top three, just because they looked right this way. It’s important to leave a little room to shift & play with some of those non-anchoring pieces in the middle. I just adjusted them until they looked right to my eye. I also tend to like big frames on the bottom, smaller on top, so that is how I designed this arrangement.
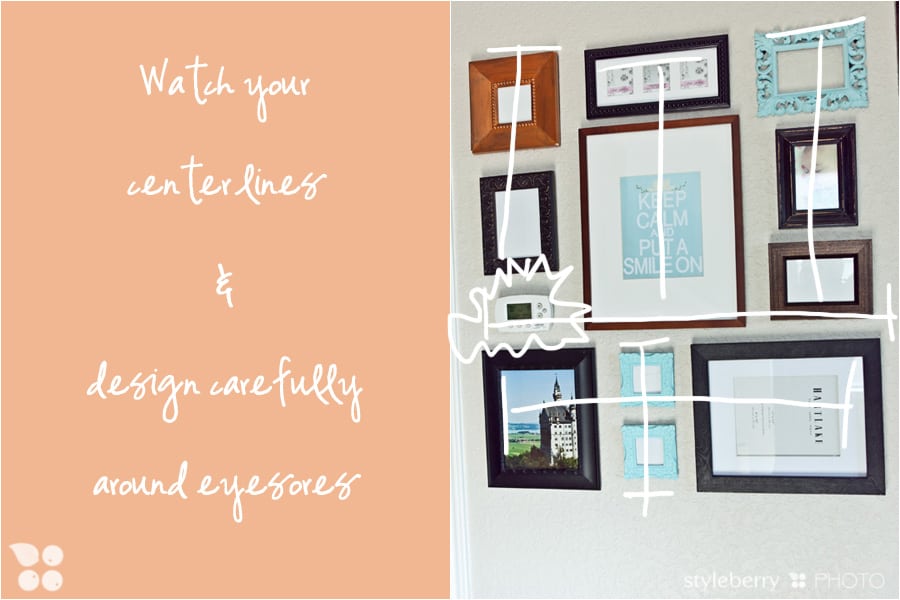
& now, it’s time to get some of our family pictures downstairs. I have hardly ANY on this level of the house, & it is time to get more personal down here! I might add more to this wall when I am ready, but for now, it’s quickly becoming one of my favorite little places to admire.
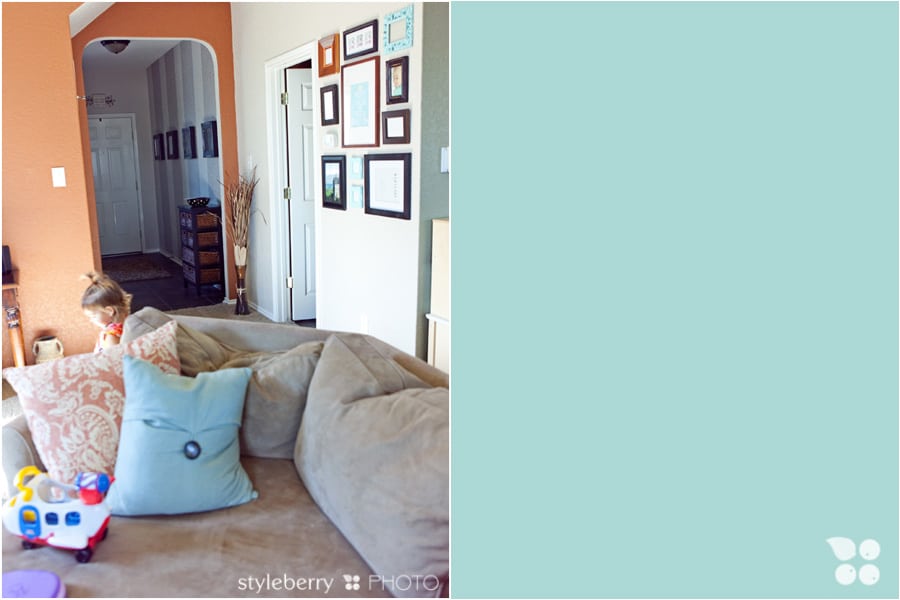
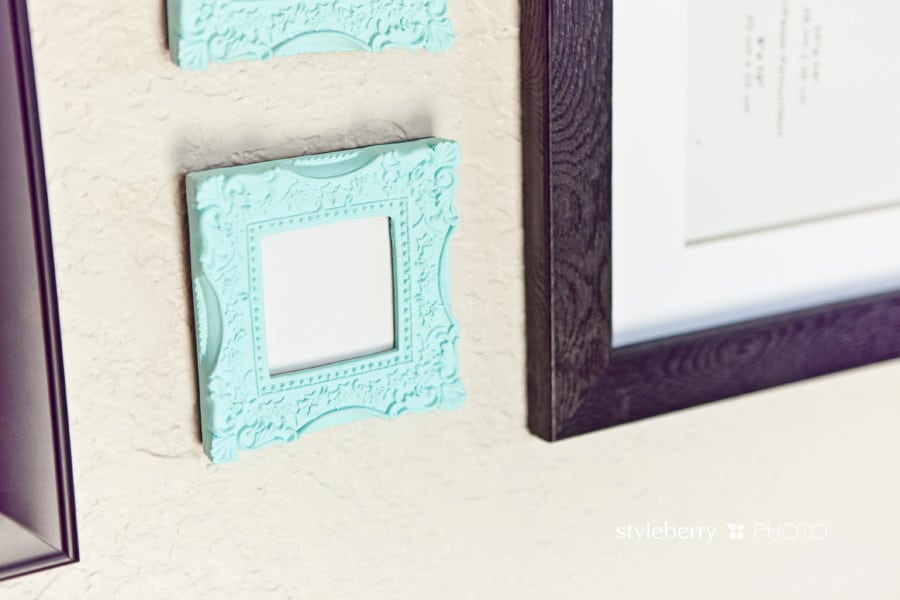
& when shopping for frames don’t be afraid to dig in the clearance section and take home some terribly gaudy pieces. Some of these frames were gold and pink and terrible, and it’s amazing what a light coat of paint can do to change it up. Some of the best bargains just need a little paint love! So don’t be scared! Frames definitely don’t have to all be the same color, size or shape to look beautiful together. :)
Happy Decorating!!

