This week brought the much welcomed return of my husband to the hospital…halleluia! You see, I married a man that just was not equipped to be anything but ridiculously busy. When he isnt busy, I am the sole recipient of his attention which means I get nothing done! So away he went…remembering every day just why he wanted to be a surgeon…and here I am…finally getting back to creative projects!
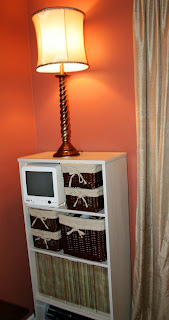
I have wanted to do something with my eyesore magazine files that I bought with the intention of painting. I was going to paint them to match my bookshelf so they just blended in, but obviously that is too boring for my taste. So I brainstormed & brainstormed and was inspired by a fellow blogger. Two Straight Lines is a blog by a Wondertime Magazine craft contributor. Her use of magazine files was what I based this project on…and I am dreaming of that lovely piece of IKEA furniture she uses; it is surprisingly cheap! My next investment…for my next home…
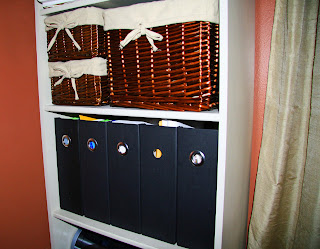
But back to magazine files. I use them to organize everything. I have folders & envelopes inside to organize project clippings, office supplies and anything else I need an arms reach from my desk. I bought these cheap black magazine files from target with the intention of removing the ugly grommet (which I did on one) and sprucing them up.
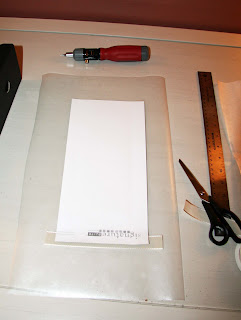
I started the project with the files, 12×12 scrapbook paper that I picked up on sale at Hobby Lobby, Clear Contact Paper, my Creative Memories cutting system, ribbon, and a credit card (and a screwdriver for removing grommets)
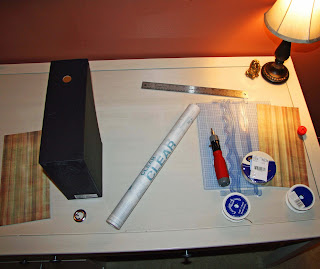
I cut each 12×12 sheet in half and cut a piece of contact paper to cover the sheet, with about three inches on all sides of the paper.
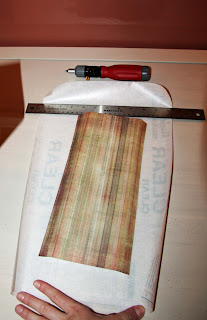
Since all of the magazine files I found were just taller than 12 in, I had to get creative to make up the gap. I didnt want any of the black showing, so I cut a piece of ribbon (which actually is the same ribbon I used for my Linen Pinboard project) to make up for the space the paper couldnt cover.
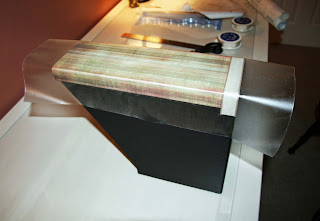
I then stretched the contact paper over the end of the magazine file and used a credit card to be sure there were no bubbles under the paper. I had also pre-bent the paper over the sides of the file just to give me a guide when I put the contact paper over it. I used contact paper because given my tendency to redecorate yearly, I wanted to easily be able to remove this patterned paper and replace it in the future. Nothin’ like planning ahead!
Then, I wrapped it tight on all sides like a present. I cut some of the contact paper out on the corners, just so the excess was managable to fold over itself on the inside of the file.
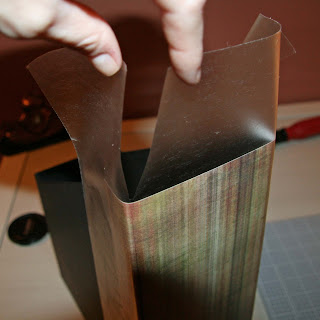
There’s the first one!
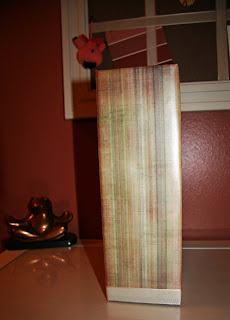
Such an improvement!
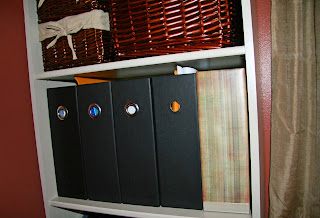
And now it’s complete. Uniform & much better looking than the black. Now time to tackle the matching bookcase on the other side of the window!