Sometimes…I sit & am thankful for this blog because it forces me to have a timeline for my projects. Holidays sure sneak up on me. This is no exception. Somehow, carroline did not wind up with an Easter basket of her own last year, so this year I decided to fix that. I wanted something that was handmade. I wanted to make it myself. So we went on a trip to Hobby Lobby. A stroller-less, cart-less trip to Hobby Lobby. Which resulted in carrying a half dozen plastic eggs, then dropping them all in favor of a little stuffed yellow “bluck” that went everywhere we went for the next week. Until we lost it. (tears)
What I did find was a 50% off basket in the prettiest shimmery colors. But it was too pastel, so my mind started working. I wound up finding some really cute placemats at target & tore them apart so I could use the fabric. I took a look at all the other odds & ends I had laying around the house & am pretty pleased with the end result! So…here’s our DIY Easter Basket, for under $10! :)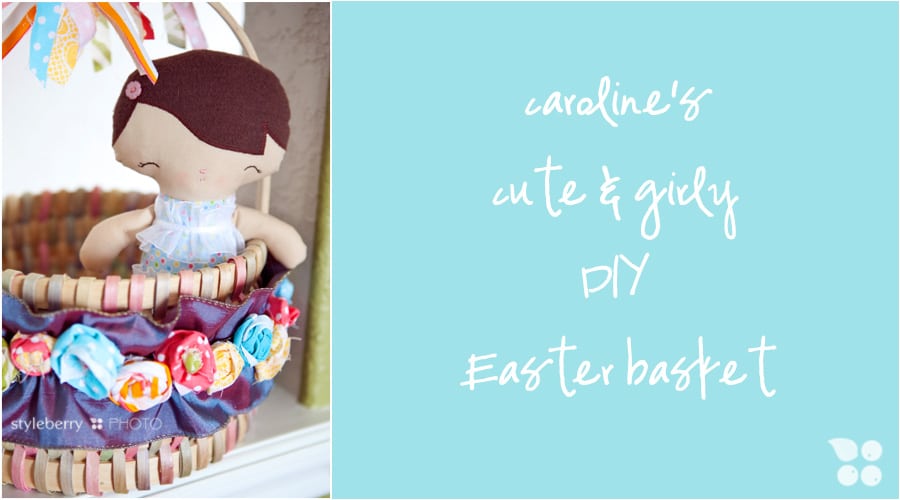
SUPPLIES
- basket (Hobby Lobby, $7.50–it was half off)
- fabric scraps & two placemats from target
- wired ribbon (Michaels, holiday line, years & years ago)
- Glue Gun
- Scissors
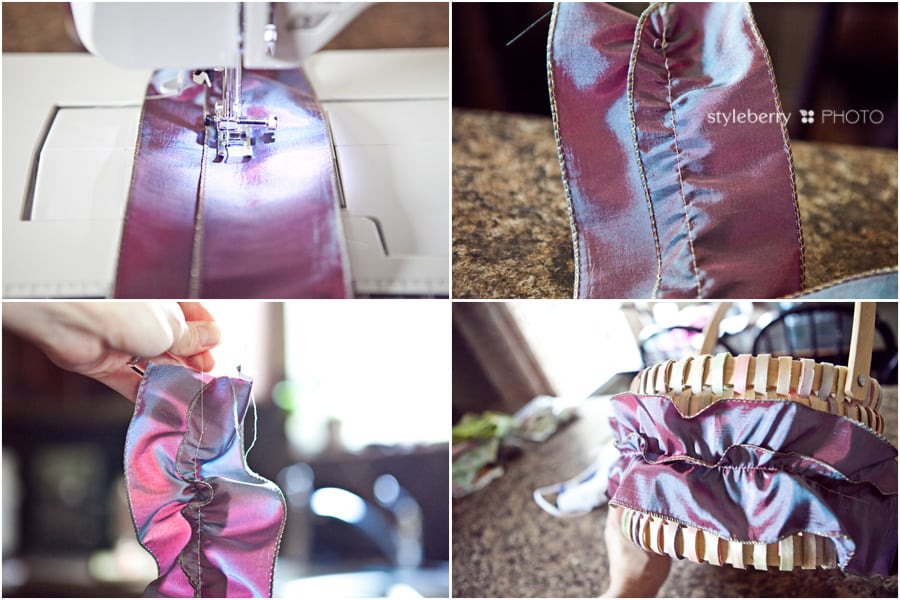
The ribbon was just a tad too narrow, so I used two pieces (1 & 1/2 the circumference of the basket) & sewed them together
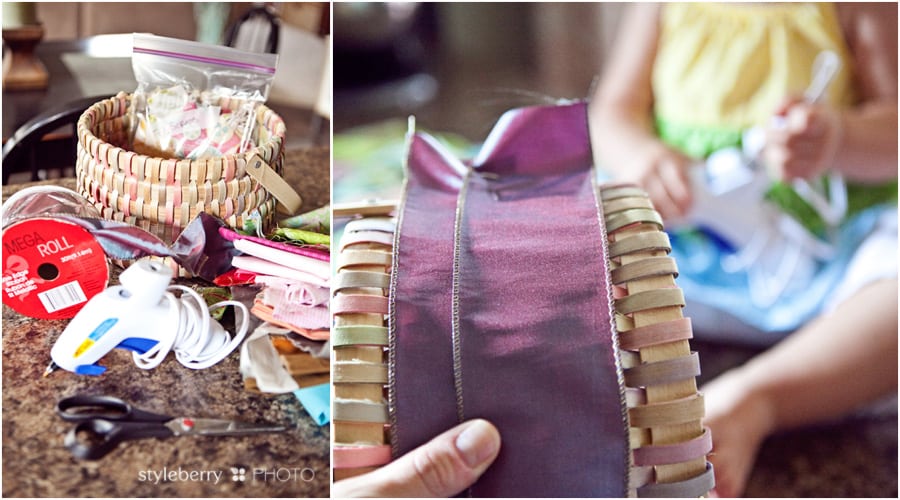
Were you here when I taught you how to sew ruffles? Well I did this the exact same way. Then placed it on the basket & adjusted the ruffles accordingly.
& here is my favorite kind of flower to make:
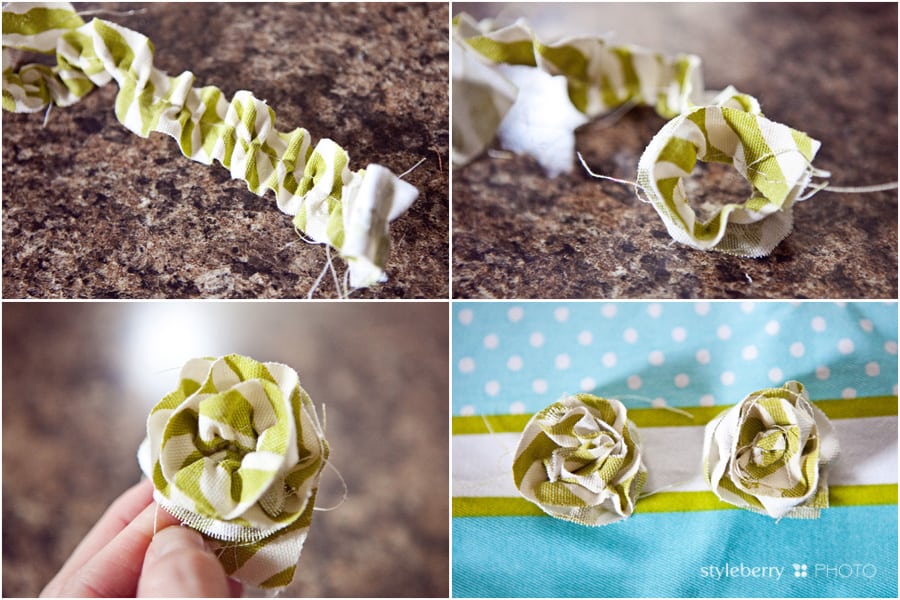
Stitch down the middle of a piece of fabric. Pull the threads to ruffle. (consult my DIY How to Sew Ruffles post for more on the stitch settings)
Fold the ruffle in half.
& twist to desired flower size & hot glue or sew to secure.
Either hot glue the fabric to hide the middle, or tie a knot & glue it in the middle.
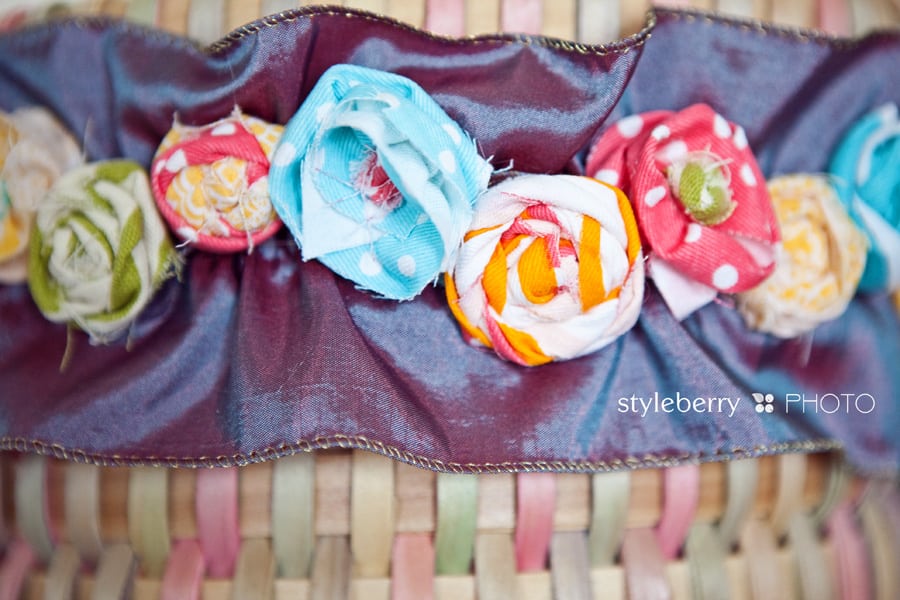
I used the flower above & one other, a rolled fabric flower. You can find the tutorial on the big post I did on DIY little girl hair flowers. They sure are fun! (& super easy, too)
I believe in messy counter tops. :)
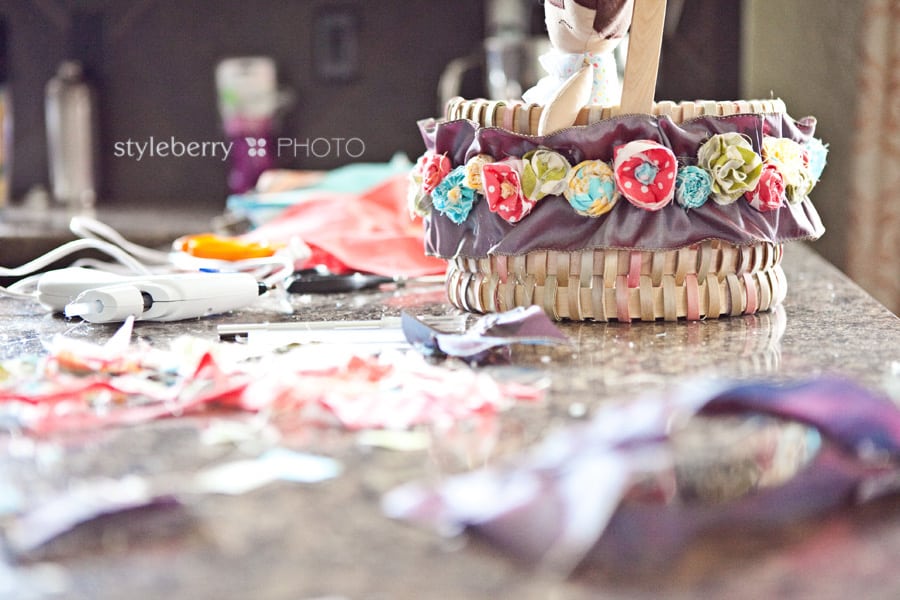
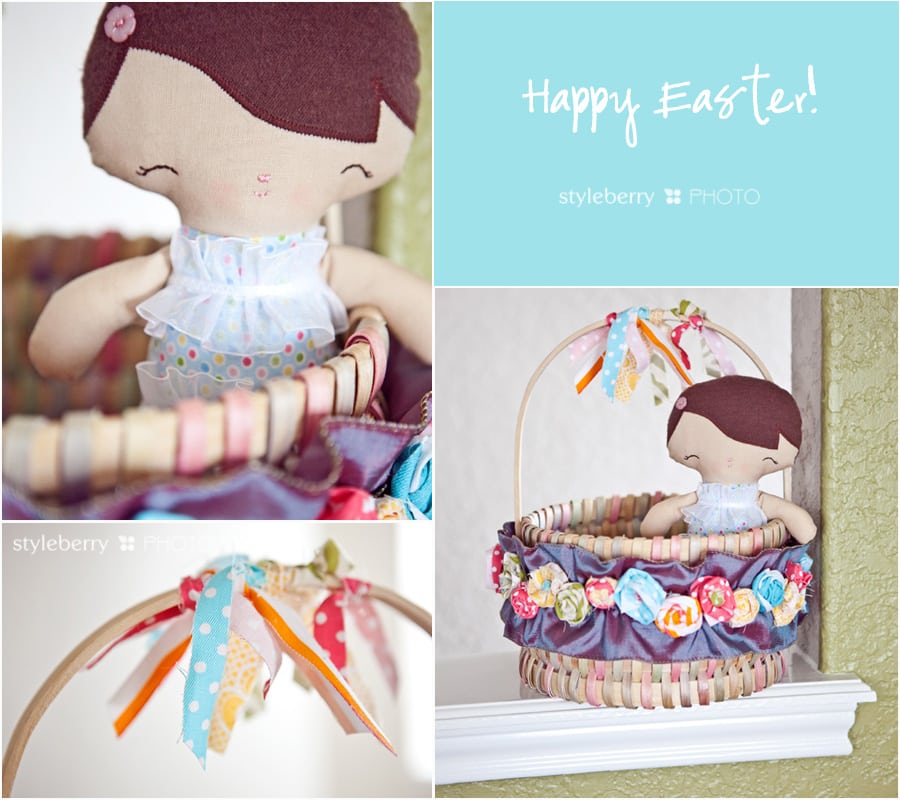
& here is the finished product! I decided I didn’t like the wood bottom of the basket, so I covered that with scraps. Not perfect. But cute enough.
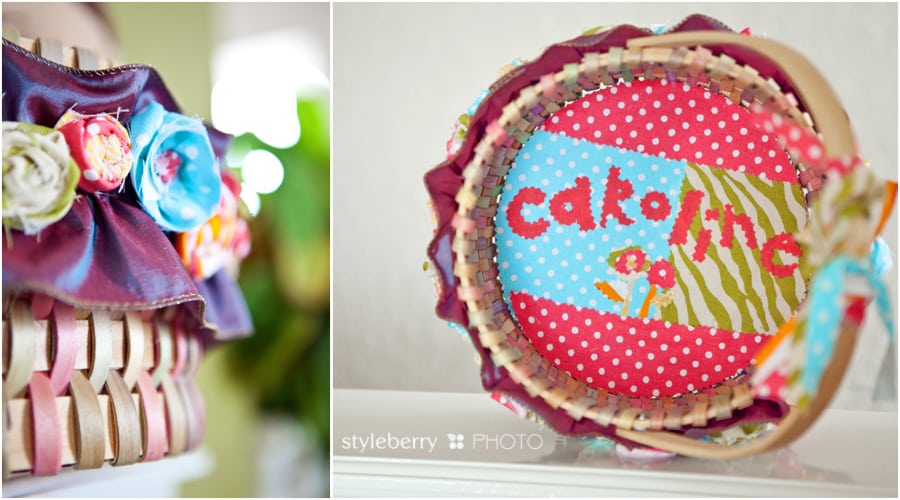
everything on the basket was adhered with hot glue.
The top was bare, so I added knotted scraps in the same fabrics as the flowers.
& her special Easter basket goody is her new baby from Bit of Whimsy Dolls. She is the “baby” pattern & still needs a name…She’s adorable!
& just in case you are admiring that super straight painted lime green line on the wall…
head here to learn how to paint a perfectly straight line!
Hope you have a splendid holiday weekend!

