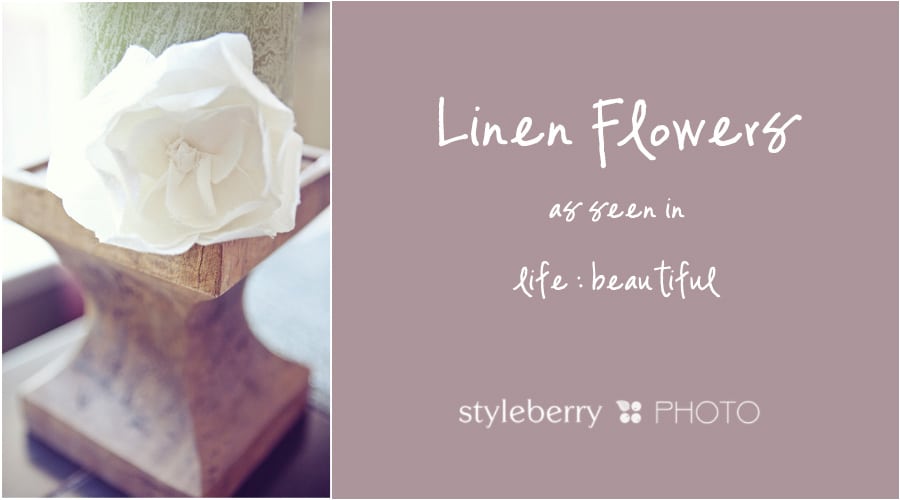
I have crafty friends. Crafty friends with good taste. & one night, we got together & crafted. I did not bring the supplies for this project, and boy was I sorry! This was a tutorial out of the gorgeous magazine life: beautiful. I decided, almost a year later, to tackle this project myself. & It sure did not disappoint! There are a lot of pictures, but this is very easy. & can be used for so many things–brooches, shoes, gifts, headbands, hair clips, belts…the list can go on & on!
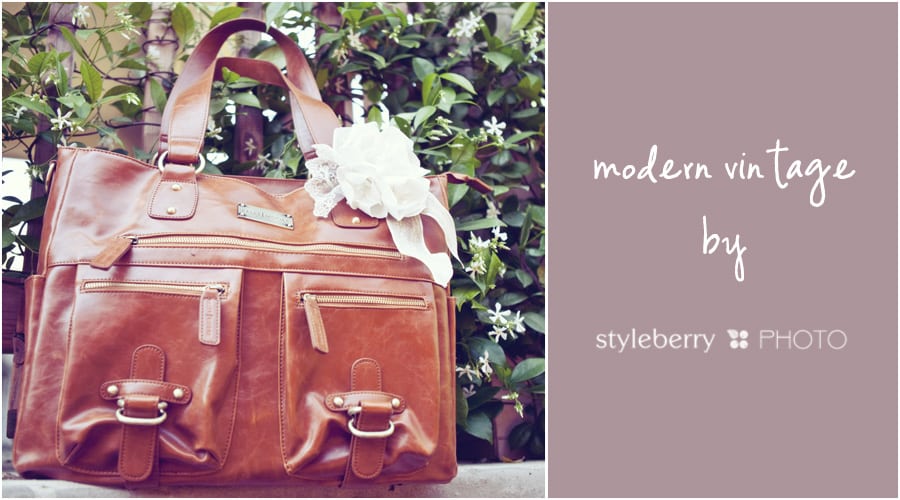
I was inspired my new Kelly Moore Libby bag, that just yearned for some femininity to go with it’s strong masculine lines. These made it PERFECT! I adore the outcome. Here’s how to make your own…for $3!
1. Materials (I had everything on hand, except the linen–which was less than $3)
- LINEN (1/8 of a yard will do)
- SCISSORS
- IRON
- STARCH
- GLUE GUN
- FELT
- PETAL PATTERNS (found here)
- Optional: PIN, BARRETTE
2. Starch the heck out of the fabric. But much like spray paint, it’s best to do a bunch of very thin coats.
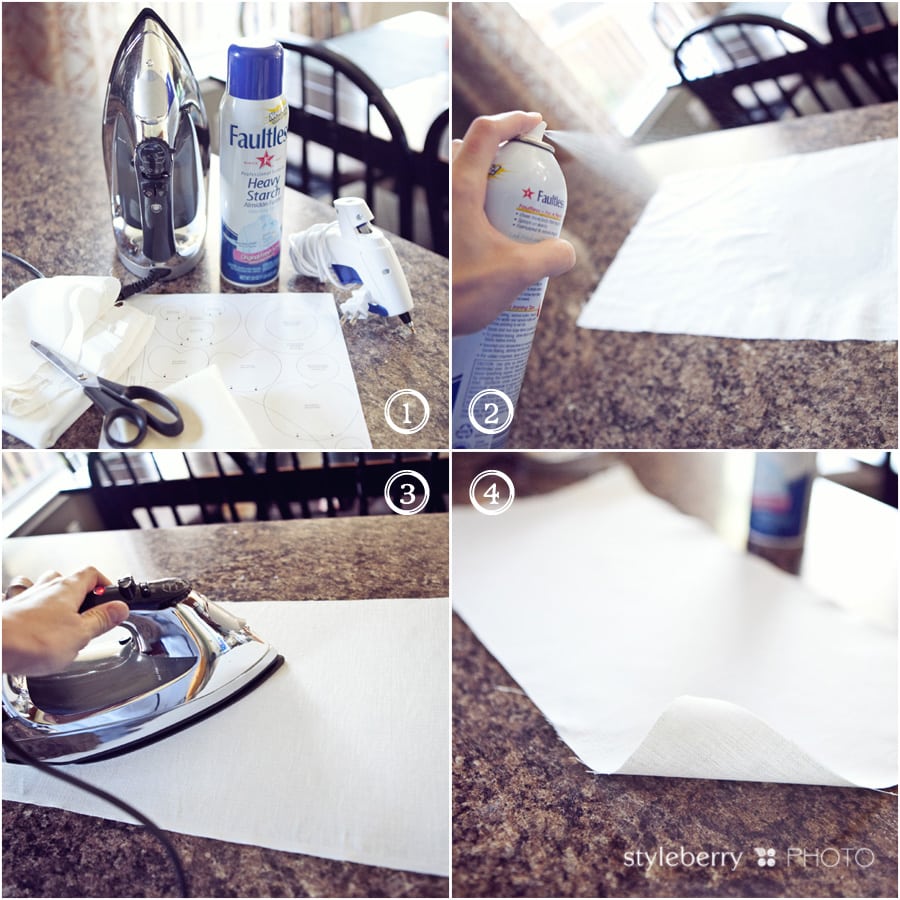
3. Iron hot.
4. The linen might begin to take on a life of it’s own when ready. Spray, iron, flip. Repeat. I did it 8 times to get the desired stiffness.
5. Trace & cut patterns on the guide. Find it here. (the page should be the size of a standard piece of printer paper)
6. Fold the pattern in half. Fold the linen in half, then cut the shape out of the linen. After this step I trimmed the linen cut outs (stacked in sets of 4) and made then asymmetrical so they did not look like perfect hearts.
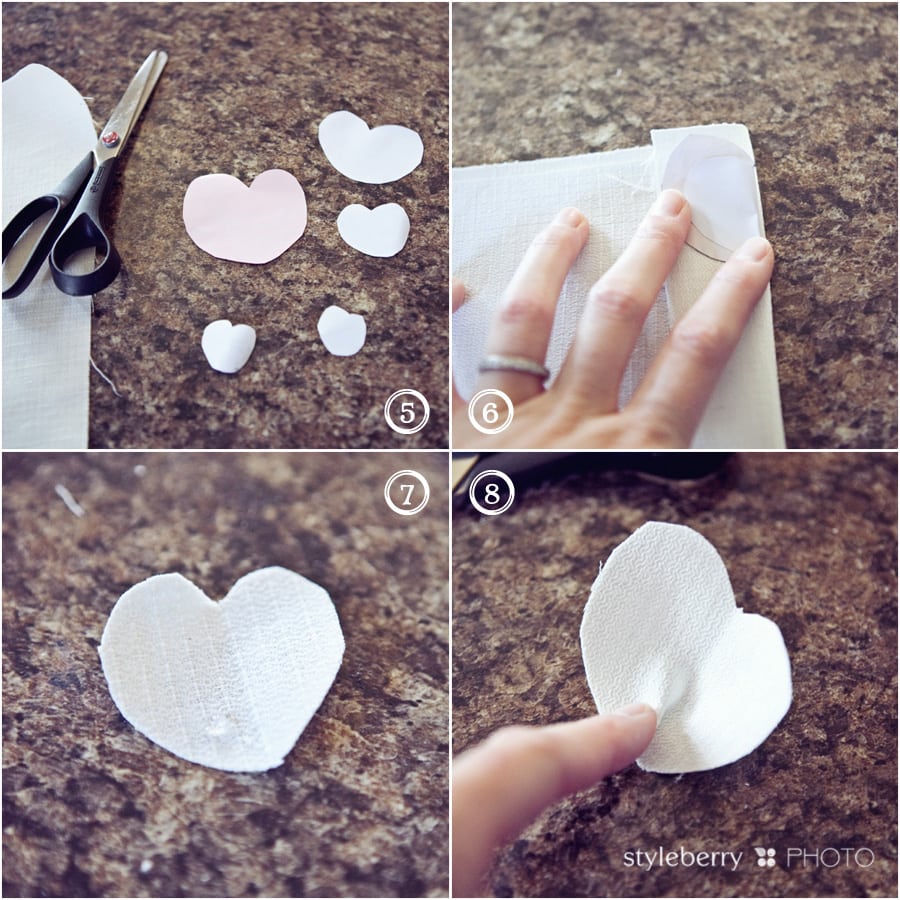
7. Once your petal is cut out, see the guide for the placement of the glue–point A over point B. You can see I placed mine on the lower left.
8. Fold the petal bottom to make a dart in the fabric. Squeeze until glue is set.
9. Finished petal. Cupped thanks to the dart.
10. Using your nails, curl the fabric into the desired shape. Sometimes the edges will fray. This just adds to the organic beauty of the flower.
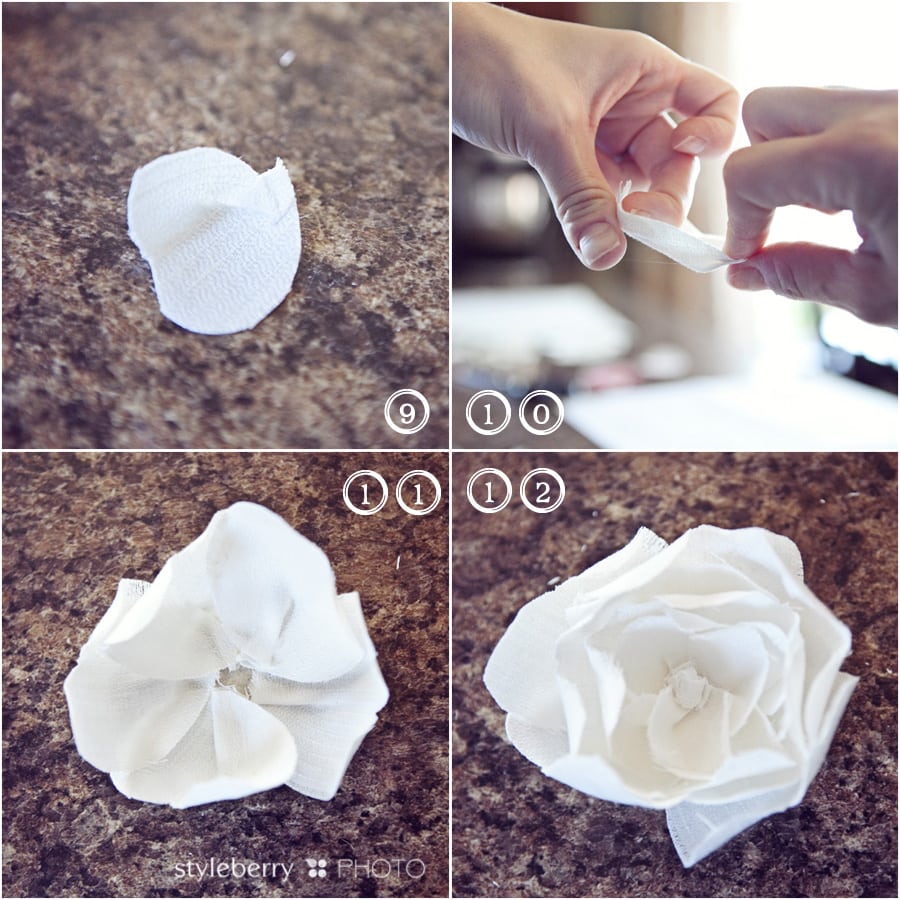
11. Glue the petals onto a round piece of felt, adding more petals until you reach your desired fullness.
12. I ended my flower with a knot of linen. The original instructions call for a different middle, but I liked it this way.
& Of course…one just wasn’t enough! :) I made three.
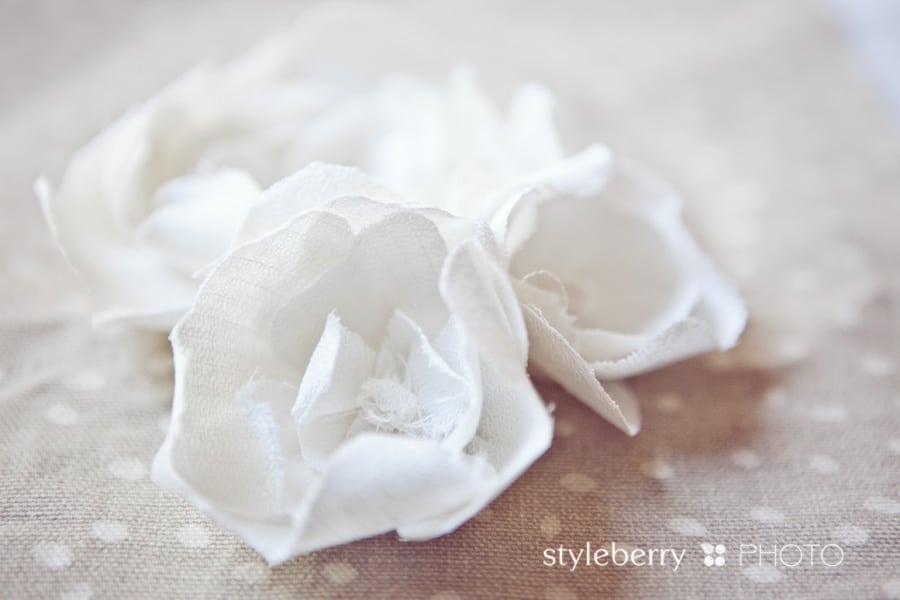
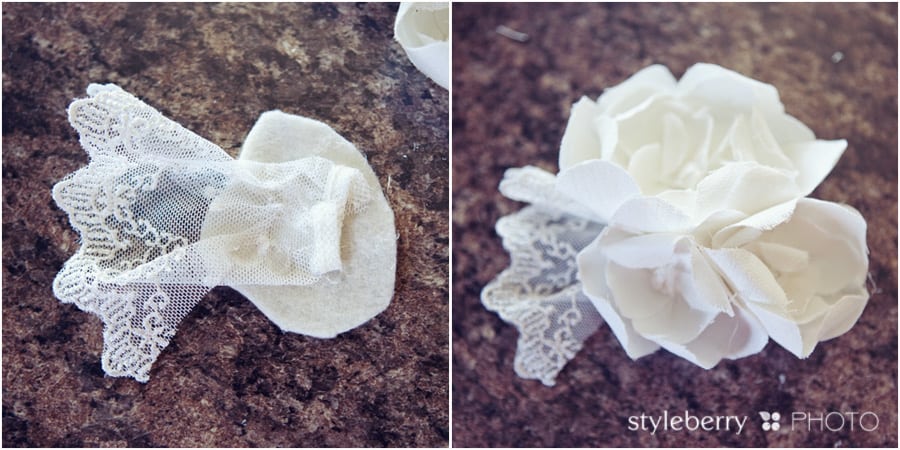
But what do I do with them NOW? Well…sticking to my vintage modern vision, I hot glued a bit of lace to another piece of cut felt. Then I hot glued the three flowers in place & added a pin on the back.
I then tied a ribbon to my Libby Bag & pinned the “brooch” to the ribbon. Love love love. So very “me.” :)
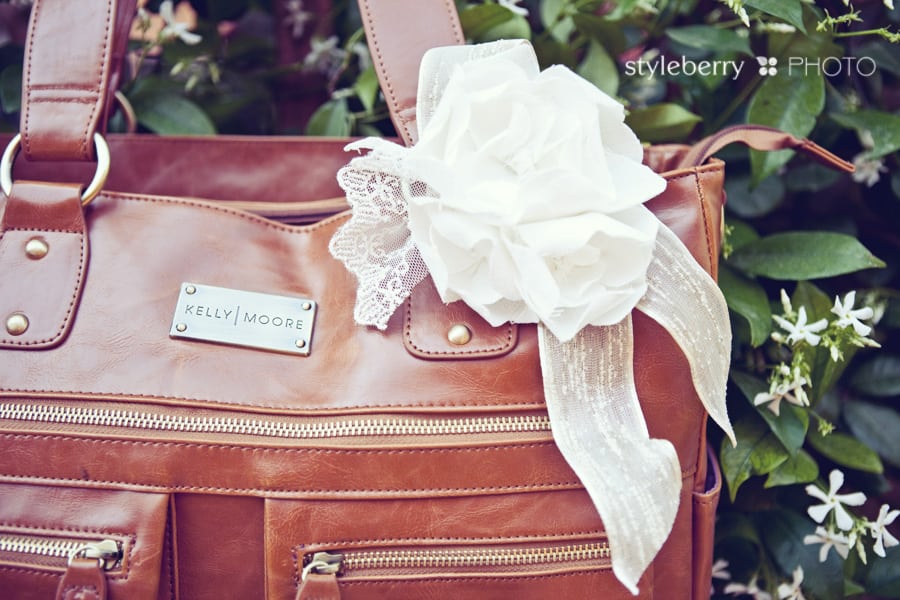
Miss Libby now feels like a girl! & all for $3. Beautiful does not need to be expensive.
