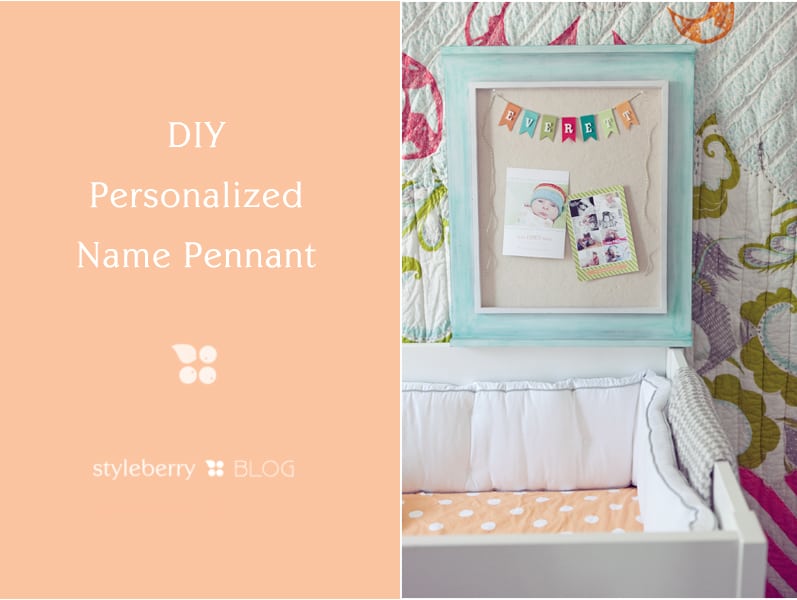
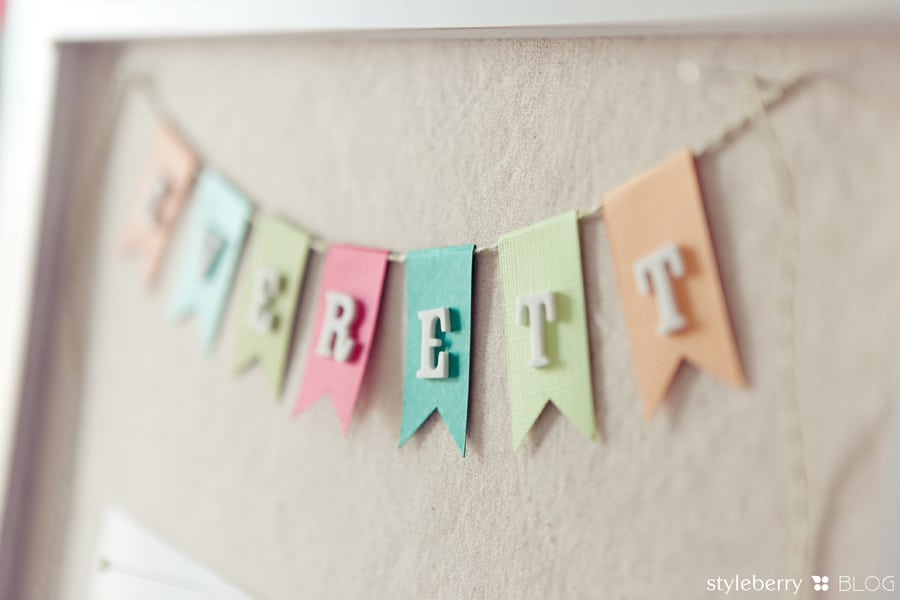
Working with my hands is food for my soul. I often get asked how I get so much done & the truth is, you should really be worried about me if I don’t have five zillion projects lined up and in progress. I just need to make stuff to function. There is something about the quiet time that soothes me. & I need it. This is a product of that need for mindless relaxation. A quick, easy & cheap little project that can be made for any scale–large for a party, or small to top a cake. Mine is just a little part of a fun wall going up in Everett’s room. So here’s how to make a personalized name pennant!
SUPPLIES
- paper
- alphabet stickers
- cutting mat (I have a creative memories mat from over 10 years ago that still works great!)
- stick pin
- scissors
- hot glue
- bakers twine
HOW TO
- Slice the paper in to strips of your desired width and length.
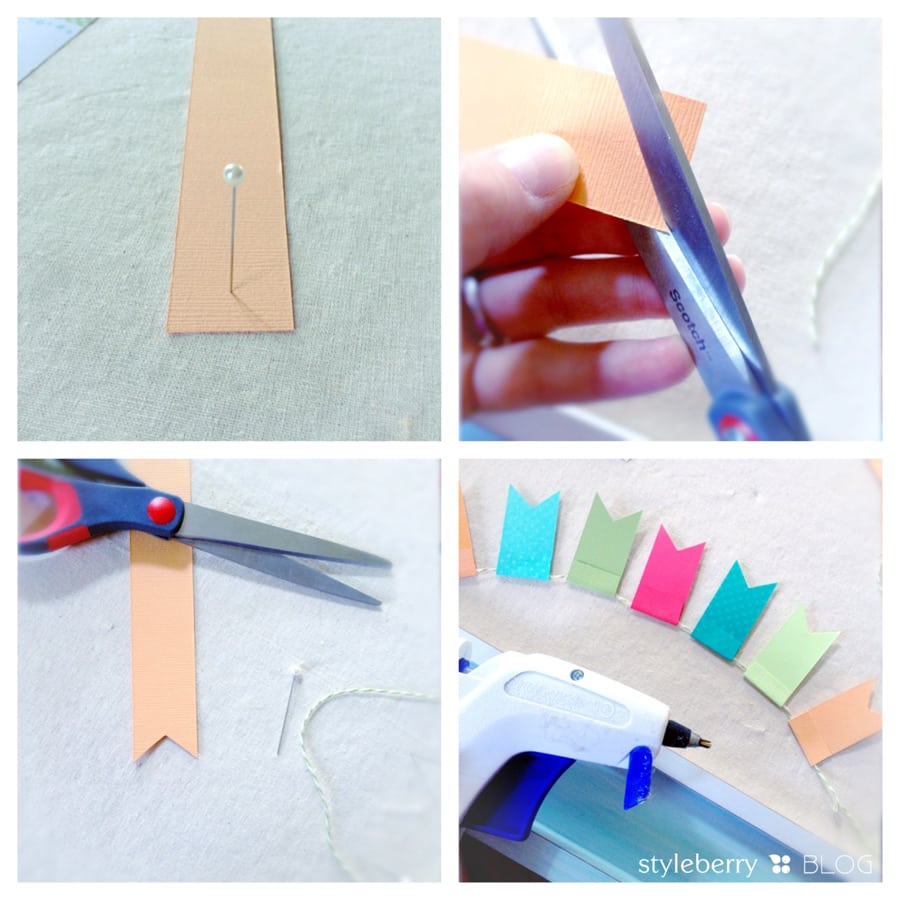
- Use the stick pin to punch a hole through the center of the first strip, paying attention to how long you want your two ribbon tails to be. (Now I am sure there are a ton of ways to make perfect little ribbon edges, but this is the one I came up with while I was standing at the counter in search of a way to make them all the same.) I then stacked all the strips on top of each other and poked them all through the original poke hole.
- Cut towards the hole from each corner.
- Place the letter stickers.
- Cut the strip to the desired length.
- Fold each strip, making sure you fold them at about the same spot so they are the same length.
- Use the hot glue to attach them to the baker’s twine. HINT: Start in the middle of your word and space them all the same distance apart from the middle.
& there you have it! One beautiful personalized name pennant!
I picked my paper with Everett’s nursery colors in mind, choosing to stick to our exact color palette so they blend well in his space. I love adding elements that combine all the colors in the palette to make the space cohesive.
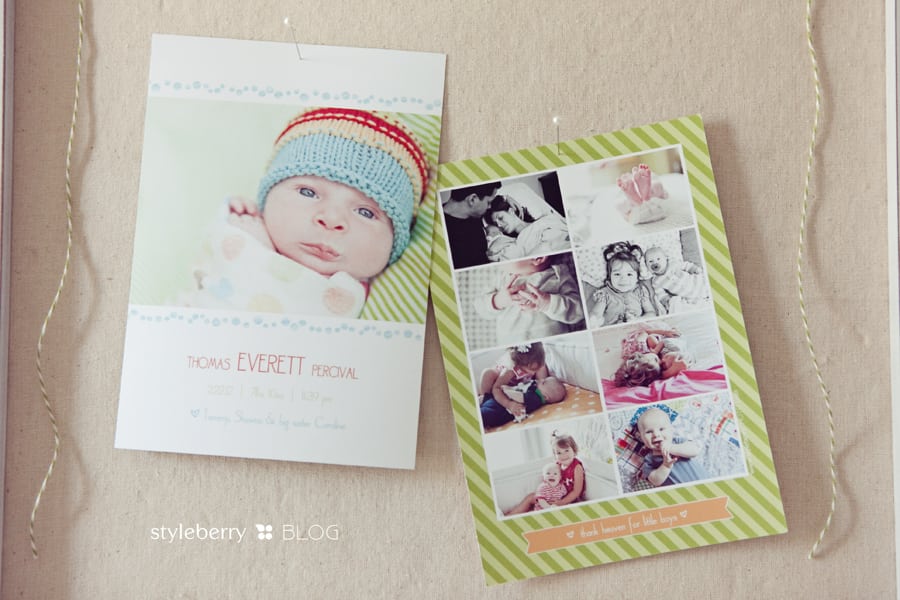
& this pinboard will serve as my instagram display–as it’s my main camera right now!! & I have so many images I love. But right now it is holding the birth announcements I FINALLY got around to getting out. Oh, I love them. I was unable to get anything of E sleeping, well, mostly because he doesn’t do it all that often. So bright eyes, it was for his debut! :) Since they were so late I added a few recent pictures. I think it’s a great reason to wait….right?!
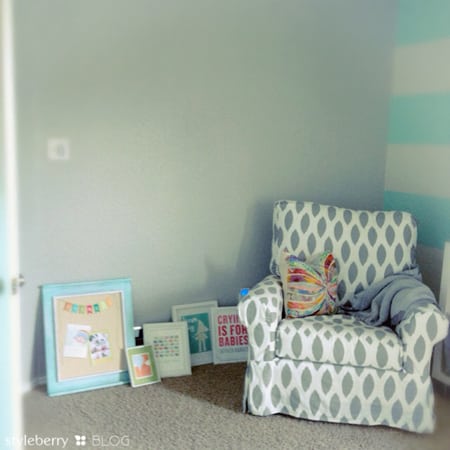
This is the wall that this project is going to be a part of (caroline helped me pick the art!):
& what? You wanted to see my baby again? My big five month old baby??! Oh, ok.
I love him. And my iPhone. 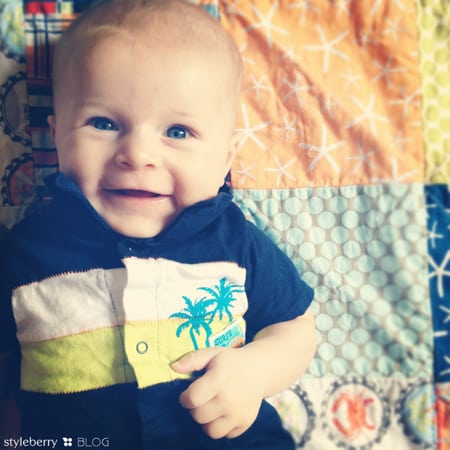
Happy Pennant Making!!

