Back when I decorated caroline’s pink damask nursery, this blog really wasn’t half of what it is today. I did the same things that I do now, I just didn’t take the time to document each customization step by step. I keep getting questions about her nursery here & there and I thought it was high time for a post dedicated to some of the “special” touches that add to its custom feel.
You may not have been around back then, but we are big fans of leaving our bun in the oven’s gender a surprise. This does lend to some difficulty when you’ve got someone as crazy about decorating as me, but I wouldn’t have had it any other way! I had a boy nursery (seen here) and a girl nursery (seen here) planned. I bought almost everything for both. Then returned half when I heard “it’s a GIRL!” I spent the first three months of caroline’s life decorating her nursery while she slept. I hand stenciled the walls. Sewed a bunch of projects. & really enjoyed all the quiet time that came with having a newborn. Will I do it again? NOPE! I’ll have a gender neutral-ish nursery, that can easily be shifted boy/girl. But I love this space for her. & I feel like it can grow with her! So here are the details!
NO SEW BLACKOUT CURTAINS
Here in South Texas it stays light well past 9pm during the summer. That just wasn’t going to cut it when it came time to sleep. I knew blackout curtains wouldn’t be in our lives forever, but as long as there was a little person sleeping in that room, there would be blackout curtains on the window. Mama is not a morning person.
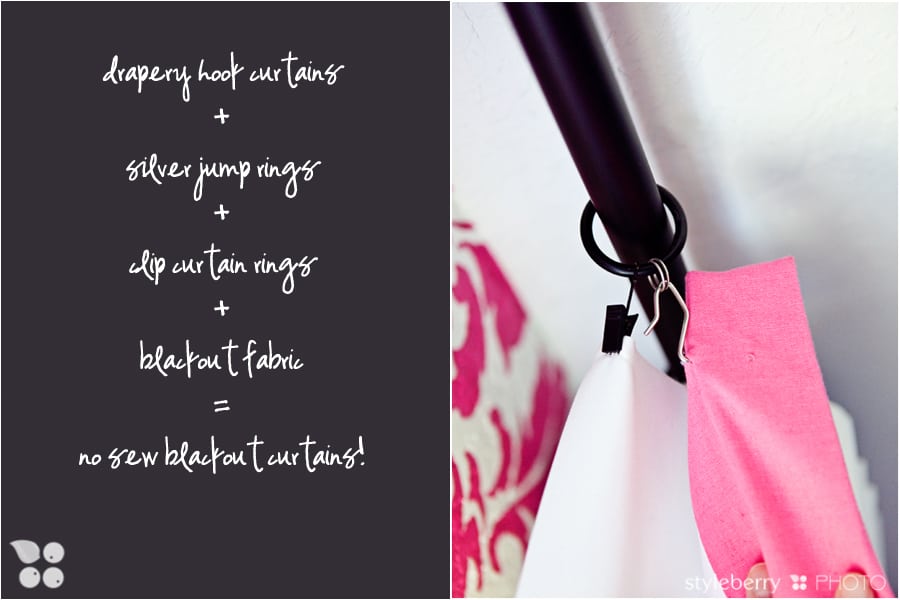
I found these curtains on ebay (they are Pottery Barn, linen) and they were perfect. But not blackout. So I got creative. Loooooong ago, (like back when we lived in Omaha, long ago) I bought a bunch of blackout fabric on clearance for dirt cheap. I got such a steal that I tucked it away knowing I’d hopefully need it in a kids room someday. PERFECT! But how to add it to the beautiful white tailored curtains? Time to get creative.
I bought the clip rings at Lowe’s. I bought some jump rings at Michaels (in the jewelery making section) and attached the jump ring to the clip ring so the drapery hooks had something to loop through, that still faced forward so they hung properly. These work BEAUTIFULLY.
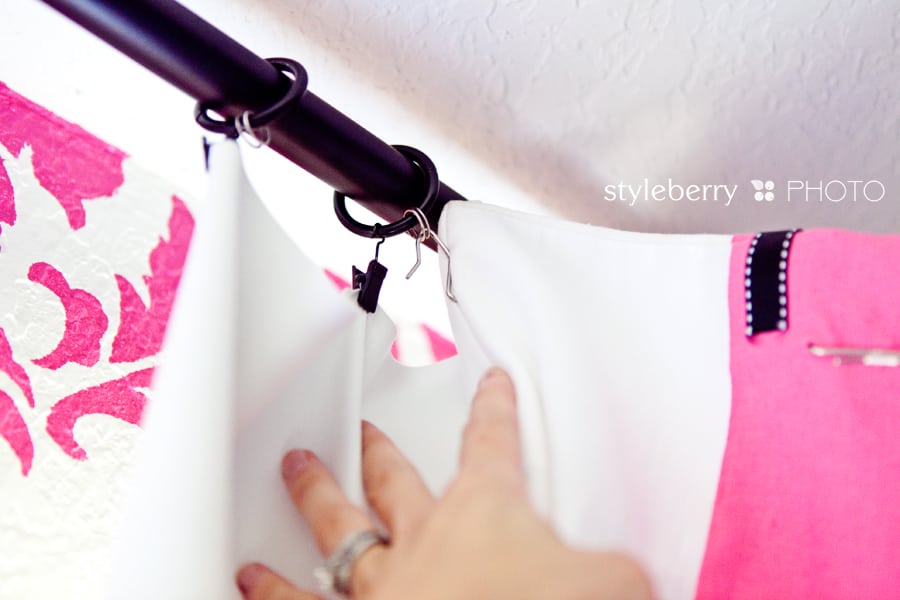
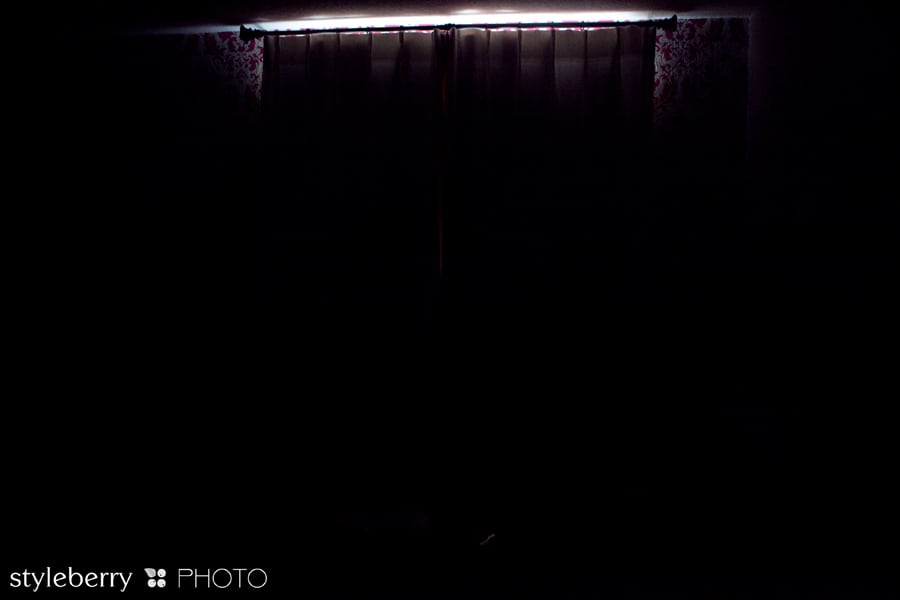
& for proof they work:
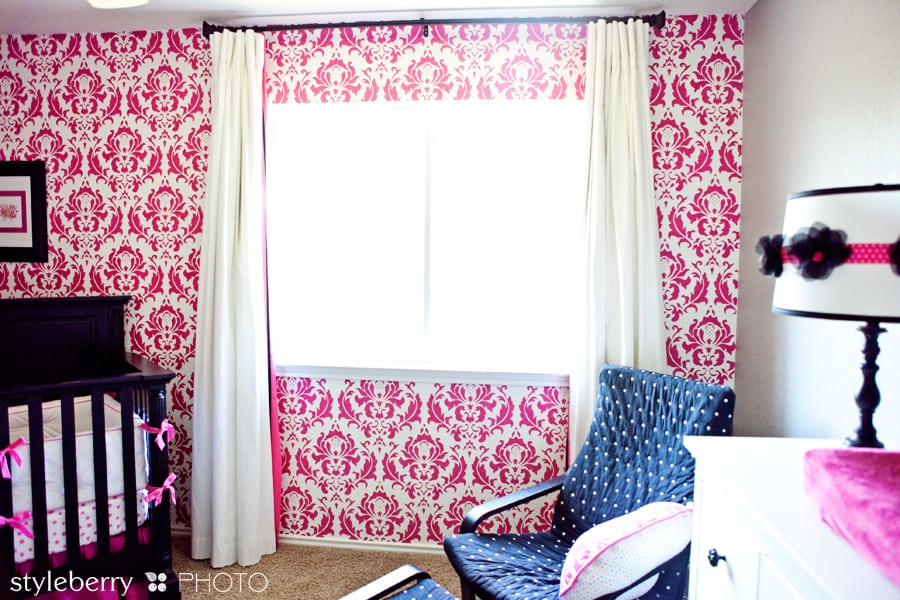
half closed
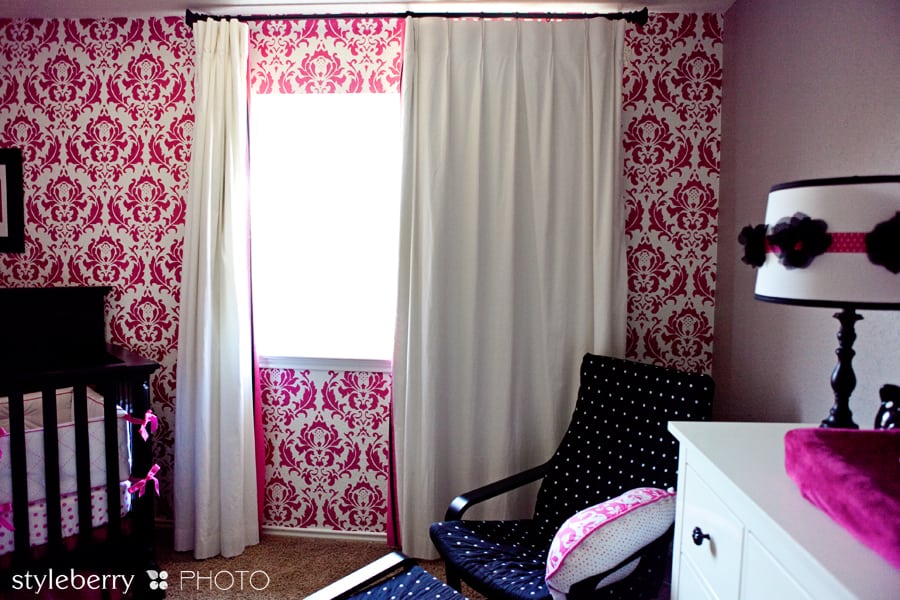
nite nite!!
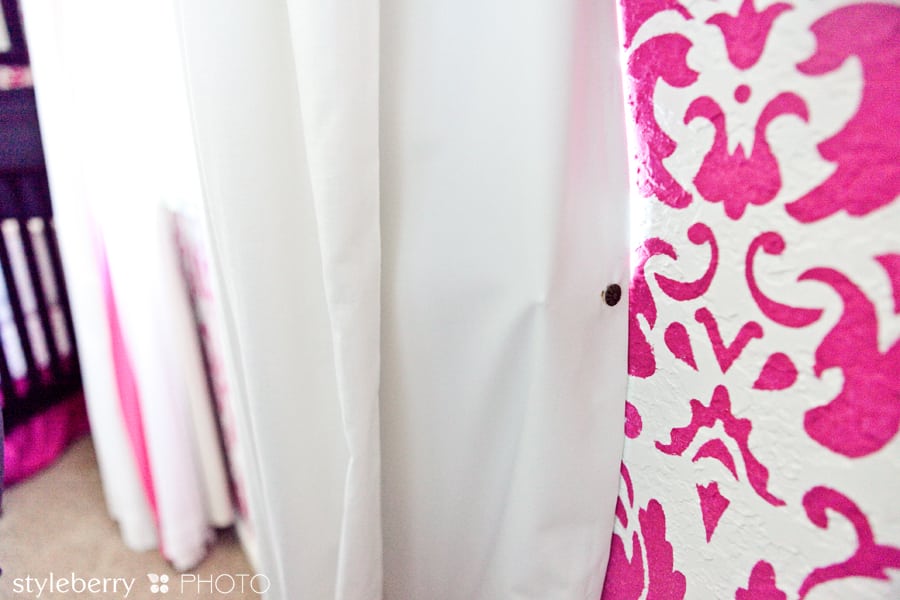
& to secure the sides, since there was still light escaping, I took a furniture tack (Lowe’s, cuter & stronger than thumbtacks) and stuck the blackout fabric taut & into the side of the windowsill.
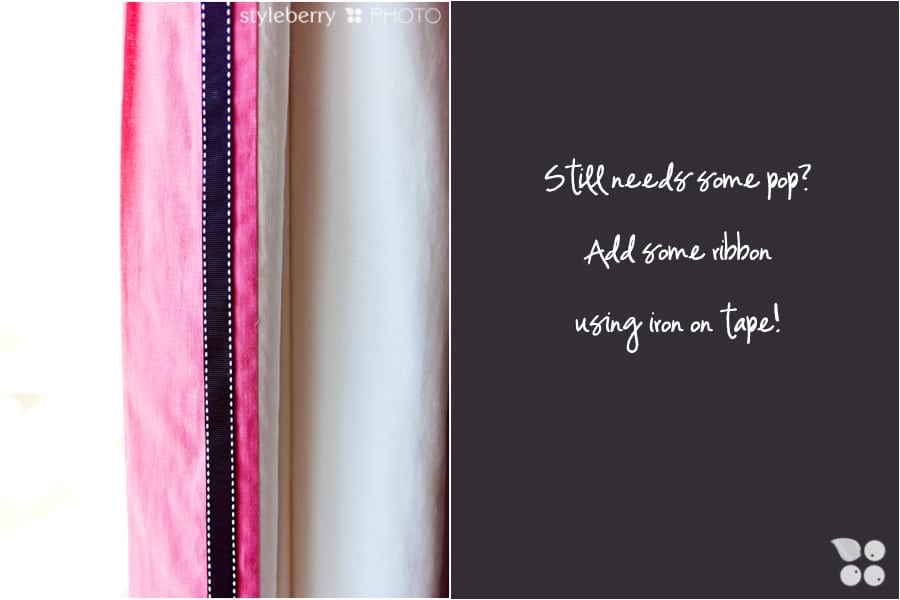
& because I couldn’t just leave the curtains alone…I took iron on fabric tape (Hobby Lobby) and adhered black ribbon (Michaels) along the pink panels on the curtains.
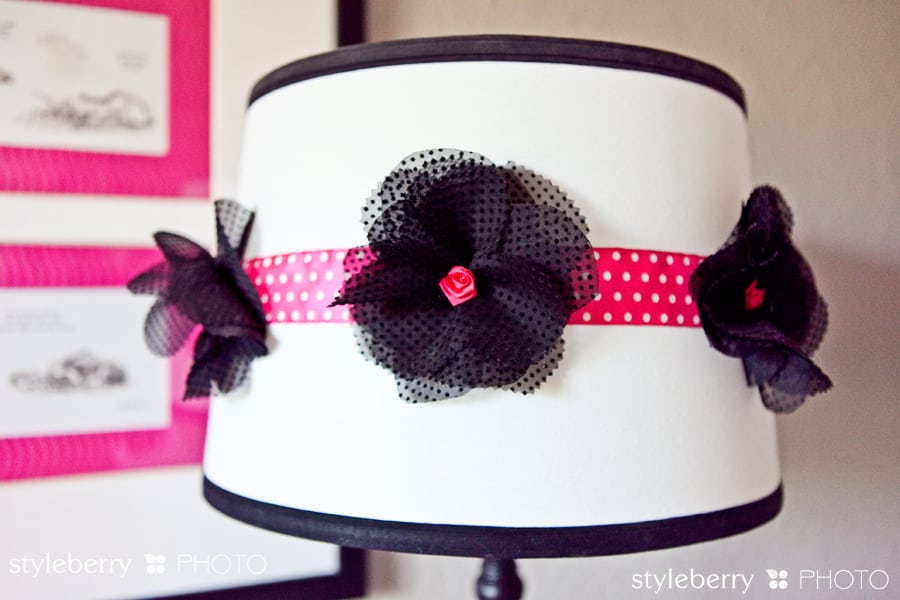
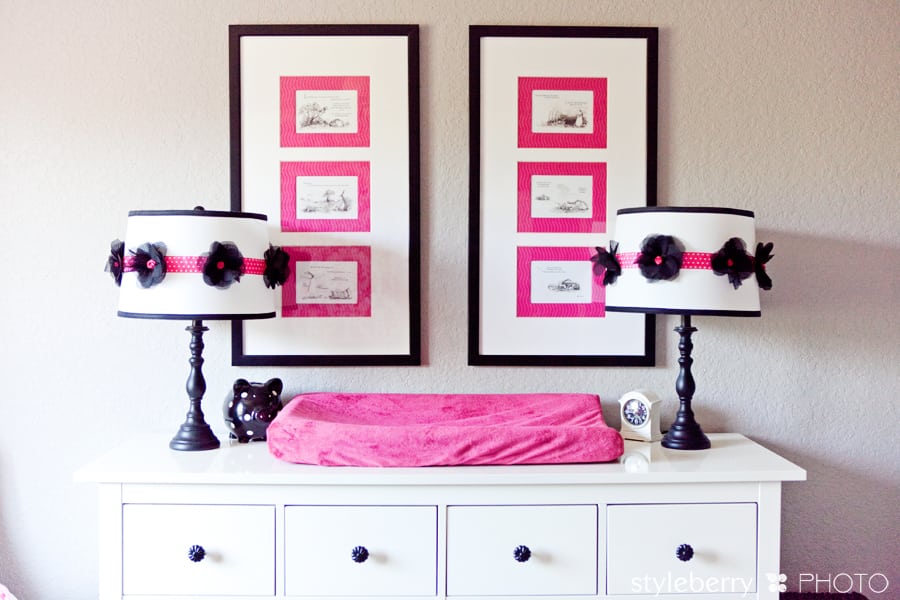
The lamps were another little project of mine. Inspired by some foofy lamps I saw while decor shopping with a friend, I decided to take a stab at some customizations. The lamp bases were spray painted black & the shades are a random $10 find from Homegoods. I found the ribbon & rosettes at Michaels. The fabric was purchased at Hobby Lobby. Here’s how I did it:
- cut a flower template which resembles a four leaf clover, then use it to cut out a zillion pieces of fabric
- cut half of the petals with a pinking shears, half with a smooth scissors
- layer each flower, every other (smooth edged/pinked edge) with five layers of petals
- pinch the flower in the middle & use a needle & thread to ruffle it to desired texture.
- affix the rosette (needle & thread)
- cut the ribbon to the proper size for where you want it to lay on the lamp shade (mine slides off, it is not attached to the shade, but it could be)
- sew or glue the ribbon to the proper size (I sewed, at an angle since the shade it angled & I didn’t want it to gap)
- hot glue flowers at desired intervals
- slip ribbon over shade
& you are done! Custom lampshades!
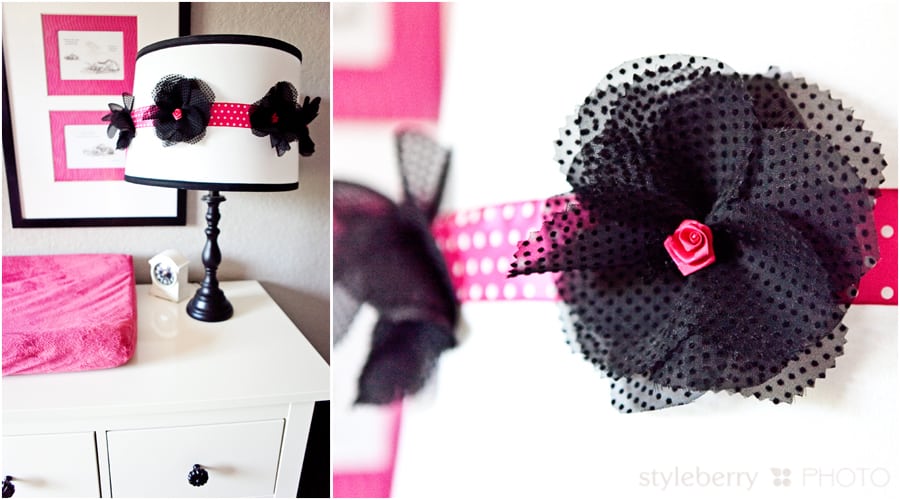
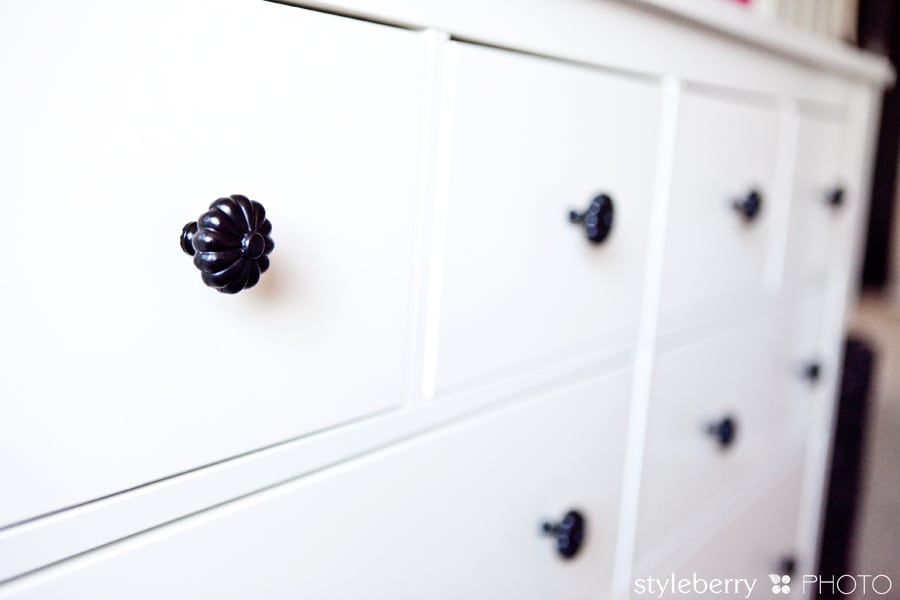
Knobs are such a great way to dress up furniture! This is just the Ikea Hemnes dresser, sassed up with some fancy knobs. I found these at Hobby Lobby (they are usually 50% off at least half of each month) and they sure dress it up. Random tidbit: Hobby Lobby often carries IDENTICAL knobs to Anthropologie, for less than half the price. So shop wisely!
The grey in her room is so hard to photograph!! It’s a purpley grey called Mt. Rainier from the [sniff sniff] discontinued line of Ralph Lauren paint.
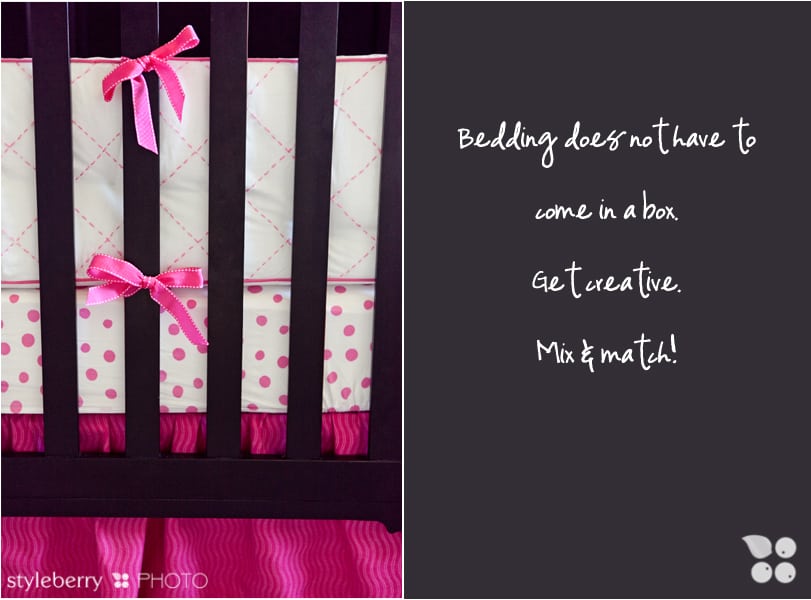
& last but not least, the bedding. None of this was purchased together. I have serious aversions to bed in a bag sets. I love collecting bedding over time. The bumper was from the Pottery Barn Outlet–my biggest bargain in the room: $4.97. It was purchased before she was born–who could pass up a <$5 bumper that was perfect?! I sewed bigger bows because the original ties would not reach around the thick posts of caroline’s crib. & what girl doesn’t need bigger bows?! The sheet was a much later find again at the Pottery Barn Outlet. & the dust ruffle I sewed myself out of fabric from JoAnns. It is velcroed to the metal frame so I could adjust the length as I dropped the mattress.
& I think that about does it! I still love her room. I love sitting in there rocking her. She enjoys it too. It feels so clean & chic. I will be so sad to leave those walls someday!

