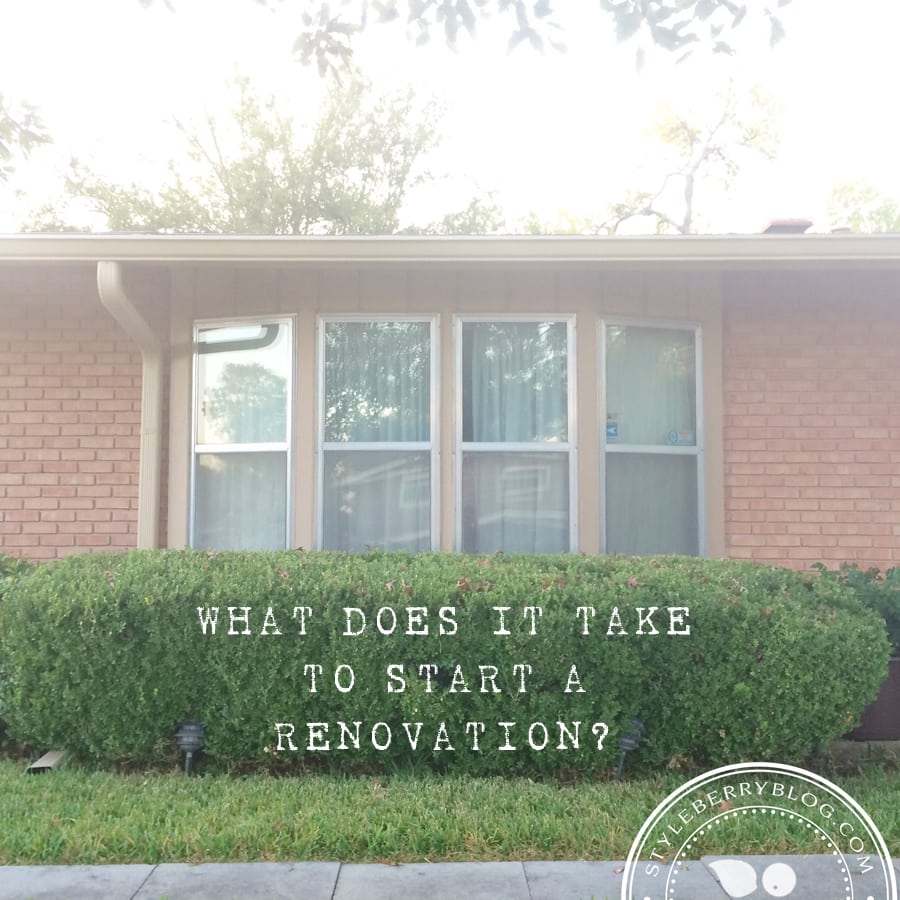
I don’t believe my eyes.

You all know I love my iPhone. But today, it took my breath away.

I used to feel bad about using it instead of my fancy camera, but I’m over that. A memory captured is a memory captured.

Remember my FAB50 about PicTapGO!? Well. I even more firmly stand behind its awesomeness. See?

Start using those iPhones mamas. You won’t be sorry!!!

What? How? Play with light. Tap to focus. Then PicTapGo!

This was app-edited using Lights On + Sugar Rush + Get Faded Neutral + Crispity.

Before. After.

Best $2 ever.

& iPhone 4S, for those of you asking.

show hide 8 comments

PicTapGo! | FAB 50:5

PicTapGo! was just released a couple of weeks ago. You can find out more about it here: PicTapGo! or just grab it in iTunes: BUY. It is $2 VERY well spent!

My favorite filters are a varying combo of Lights On + Montecito + Get Faded Neutral. I SOOOO love this app!!

Happy Friday!

show hide 10 comments

The Three Minute Lunch | FAB 50:4

I was making this for lunch today & thought you’d probably like a new idea for lunch. I know I always do–& please share if you have an easy one!! I timed myself–it literally took three minutes to throw together. SCORE. You could get all the ingredients at Costco if you wanted to make it a one stop shop. The Quinoa is sold in six packs–and I only eat a half of one when I make it like this (everett sometimes eats the other half). So the totals are: half a Quinoa packet (you microwave it for 90 seconds), a whole avocado, three or four small dollops of sour cream (I believe in full fat) & a few spoonfuls of salsa. Sometimes I add cheese. But since cutting out an everett feeding recently, I have to start being more mindful of extra calories, so that is a really easy way to cut. I don’t even miss it. YUMMY. ENJOY!

show hide 8 comments

DIY Stick Horse (minus the stick)

Well, it’s rodeo time down here in these parts. Well, for some people it seems to be. I’m not much of a rodeo gal myself–I much prefer cooler, less dusty adventures, but that doesn’t mean we skip the rodeo themed fun! Our preschool is really great about putting together engaging home projects & the most recent involved a request for a stick horse for the upcoming rodeo–F U N!!

I decided to try to avoid the hard, pointy object that is usually part of a typical stick horse so after poking around pinterest (with seriously limited findings) and a good imagination, this is what we came up with! Here’s what you need!

DIY STICK HORSE

  • pool noodle
  • trim (or ribbon or twine), about 2 yds
  • hot glue gun
  • fabric scraps (for the mane)
  • felt (for the ears)
  • buttons (or anything else you can dream up, for the eyes & nose)
  • & if you’re feeling fancy, an old (or clearance) pair of sweater tights, kid sized

This was allllll caroline. She picked the tights ($2 clearance, target), then we slipped them over the noodle. We used the trim to secure the noodle together after we bent it over & made some reigns. Then she went through my scraps and picked out her favorite colors. Turquoise & “gween” ears. :) With bows, of course. & “cute yittle buttons” for the eyes and nose. I couldn’t talk her into two nostrils, so one’ll have to do. ;)

For the mane I just knotted little strips of fabric & hot glued them down the tights. She picked the order. I was under quite some pressure: no two of the same touching. Thankyouverymuch. (so proud!)

“Wainbow Sp-wink-uwl” has now accompanied us to Lowe’s and took a nap on the stairs and is tucked in tight next to her mama for the night. Oh, the joy! I hope she doesn’t look too obviously raised by a non-Texan when she shows up in turquoise gingham, pink rain boots & this thing for the big day. HA! Whatev. We’re just not cowgirls…but we sure know how to work a theme. ;)

Happy horsey making!


show hide 13 comments

Have you missed them?

They get all my attention.

Which is why this blog does not.

& that’s just exactly how it should be around here!

These are my two favorite images from the last two weeks. Same sweet smirk! :)

Now…on to processing this sweet boy’s birthday pictures! Oh, one is FUN!!!

show hide 11 comments

Ziploc Divided Rectangle Container | FAB 50:3

I found my Ziploc divided rectangle container at my local SuperTarget.

& a note/update on random things food related…

  • caroline does still use her PlanetBox at school. We use this for play dates & random picnics.
  • I do not heat it in the microwave. I don’t heat hardly any of E’s food and if I do, it is microwaved in glass.
  • I usually have three of these in the fridge for feeding everett. I put bits of our leftovers in there and some stuff I steam just for him. I haaaaaate pulling out a dozen containers at one time & this makes it so easy. I set all three out for dinner, give him a bit of pretty much all the food & see what he’s feeling that meal, then give him more of what he’s digging. Works great!
  • I did use this container for homemade purees for the short time I used them. He was finger feeding several weeks into eating (by 7 months) and has been feeding himself for months now. This is the biggest difference I’ve seen compared to caroline–he was self sufficient faster. Part of that is my inability to sit & feed him with another child needing me, & the other part is that he is impressively coordinated and took to feeding himself right away, fighting the spoon. I was too tired to force the spoon & why bother? Self sufficient eaters work for me! ;)
  • I road tripped recently with a half dozen of these in a cooler–packed several meals in one for everett, and one per meal for caroline. I cannot tell you how wonderful it worked. We had a fridge in our hotel & we never had to eat out.

Happy Friday!! More of these to come–I swear I have a dozen in queue…just recovering from Everett’s birthday party. Yep. You read that right. wahhhhhhhhh!!! :*(

show hide 5 comments

Today on The Creative Mama…

…I’m talking about yet another thing I am loving. Head on over for my current favorite book & how I find time to squish reading into my hectic days! Happy Friday! :)

no comments

The Plexiglass Non-Train Table | FAB 50:2

The plexiglass can be found at Lowe’s and they will cut it to size. My dad gets the credit for this idea! He rounded the corners with a utility knife then sanded them smooth, so there are no sharp edges that make it dangerous for little everett boy, or everett-zilla, as we like to call him around the trains. :) Right from the start we talked about how fun it was to fix broken tracks, in an attempt to minimize big sister freak outs. It’s worked out reasonably well…though the little dude still drives his sister nuts a couple times a day. Not enough for it to be a major issue though. He’s usually content chewing on an engine. Boys!

The baskets were purchased several years ago at Target (part of their banana leaf collection, you can find a comparable product here) and they are zip tied together in the middle so they don’t separate. In each cube is one set of my toy rotation, which is made up of five separate collections of stuff. I change the toys out every two weeks (new toys are put in my recent project) and the rest are unaccessible under the train, so there is no disruption to my system by sneaky fingers! Four collections are stored away, one collection is out for play. I rotate the train track too, building new loops and using various pieces, then packing some away for the next remodel. The trains were all scored from craigslist by my mom. & you can always do this set up on any old coffee table or leather cubes or whatever you have. It would not be hard to glue tracks to the plexi if you wanted to do that, then slip it under a bed for storage. Lots of options!

I swear, this thing is used several hours a day! A much better solution for us than a big ‘ol train table. & it’s nicer on the eyes. ;)

(& thanks for your facebook feedback on the font. Hopefully this one is easier to read!)

Related Posts with Thumbnails

show hide 12 comments

G R A B   A   B U T T O N